Showing posts with label Bind-it-all. Show all posts

Monday, 4 April 2011

Time for Simon Says Stamp and Show!

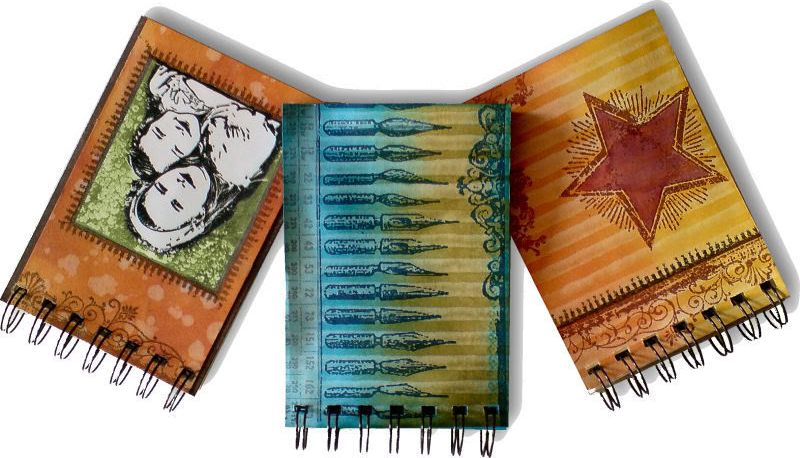
The theme over on the Simon Says Stamp and Show Challenge this week is "anything but a card". Some of you may be aware that I'm battling to reduce the ever-growing pile of patterned cardstock in my craft room.  I'm making progress, slowly but surely, and this project takes me one step further in the fight! LOL  Having said that, I seem to only be reducing my pile of the Lost and Found stack, which I will be replacing when it's gone, so perhaps I'm not making as much progress as I thought!

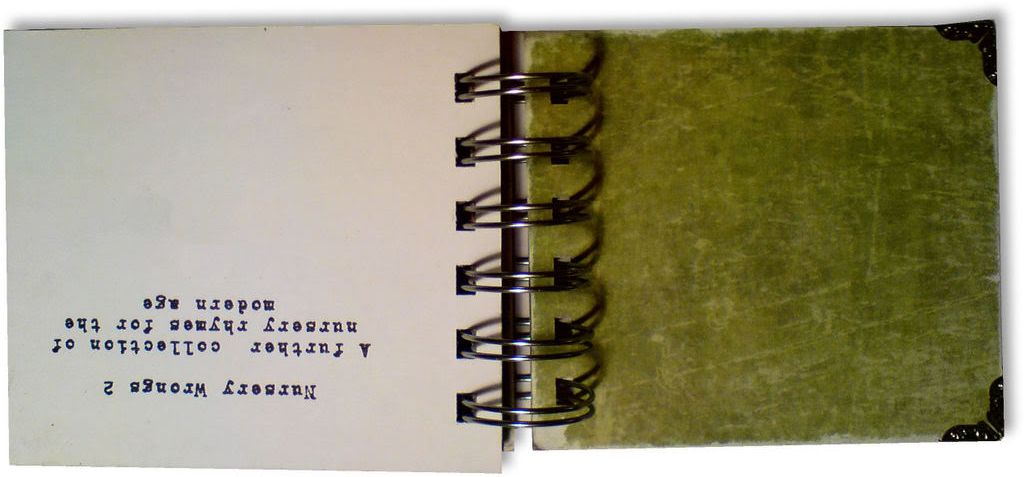
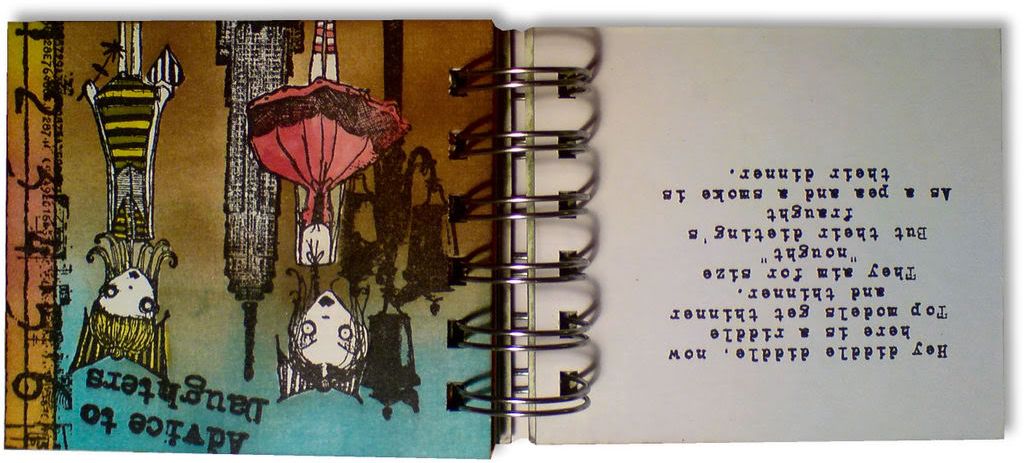
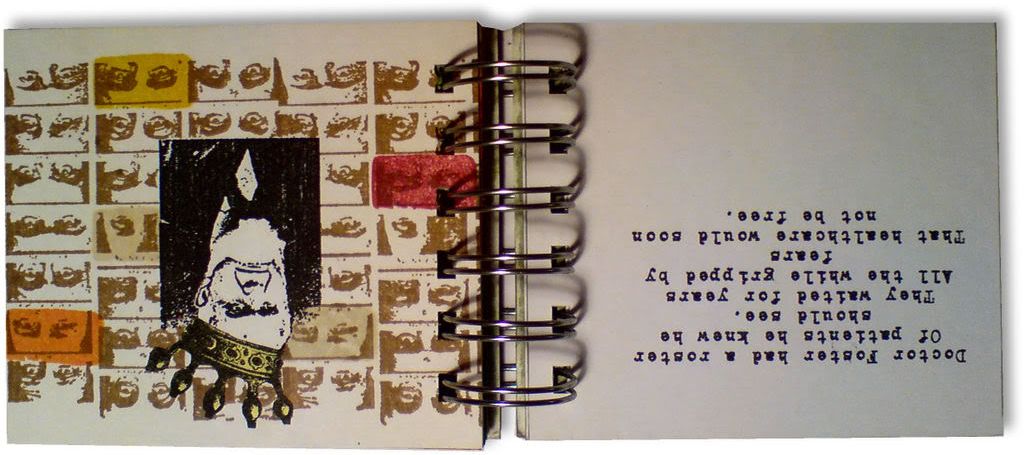
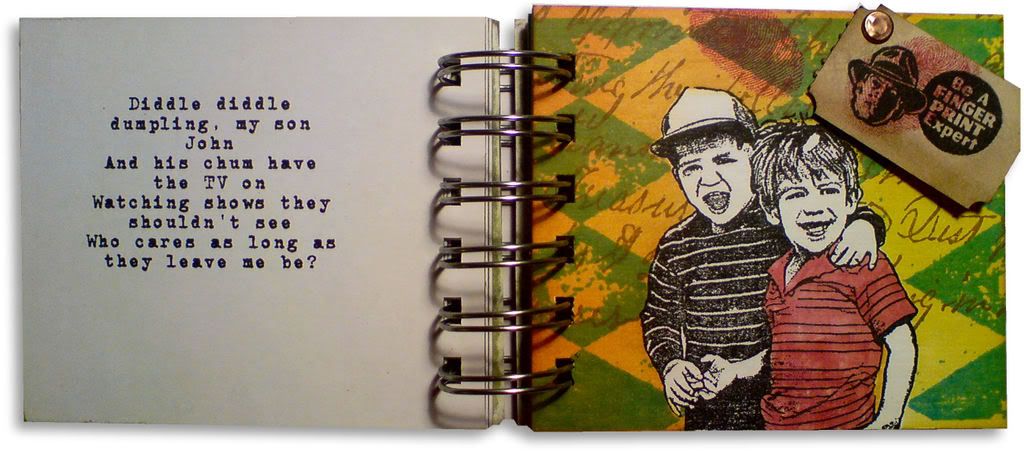
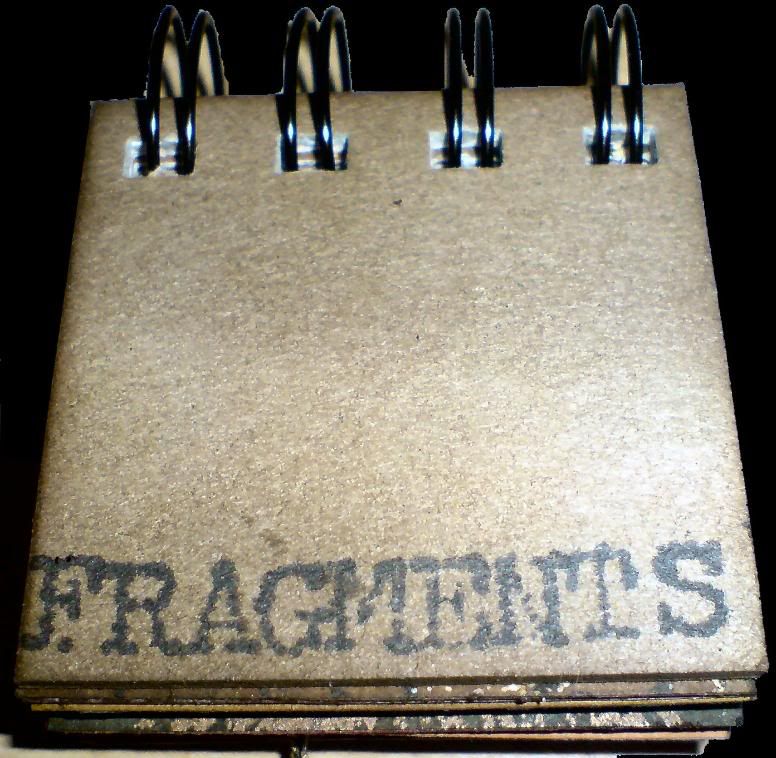
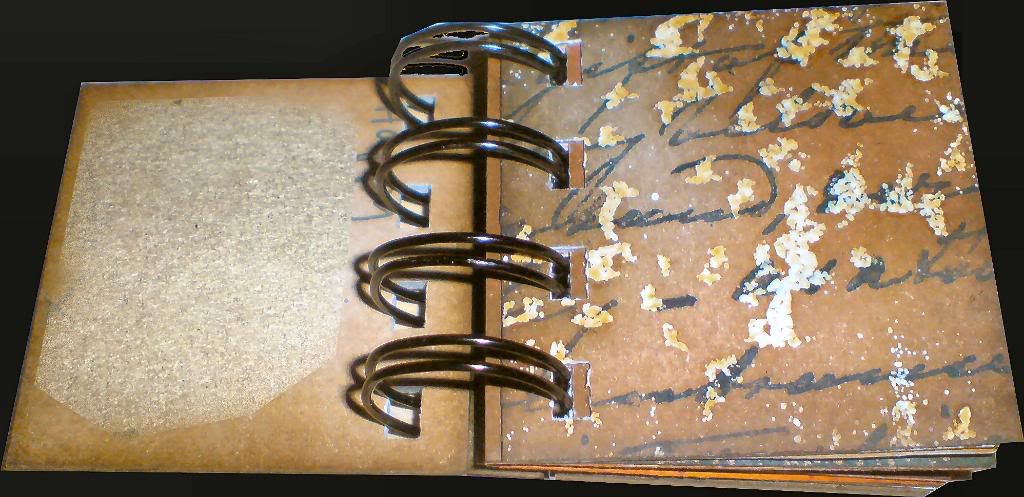
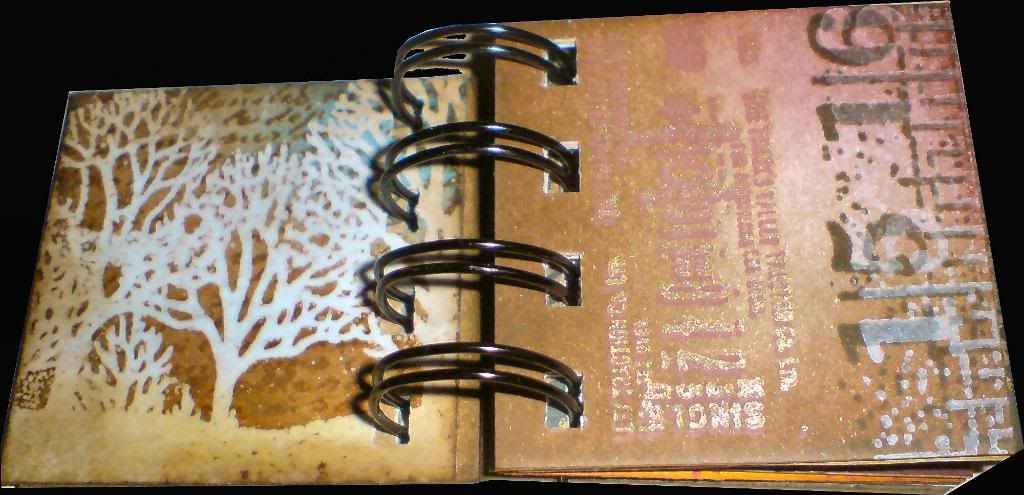
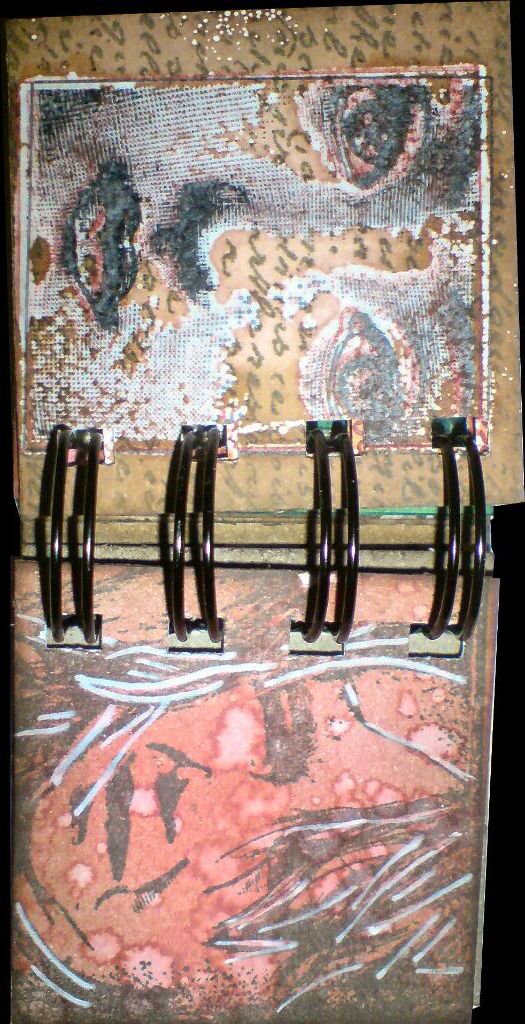
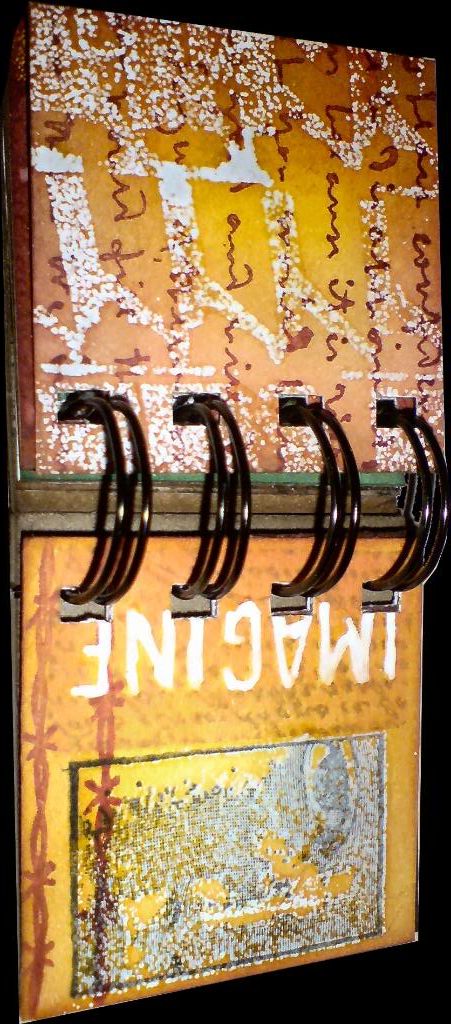
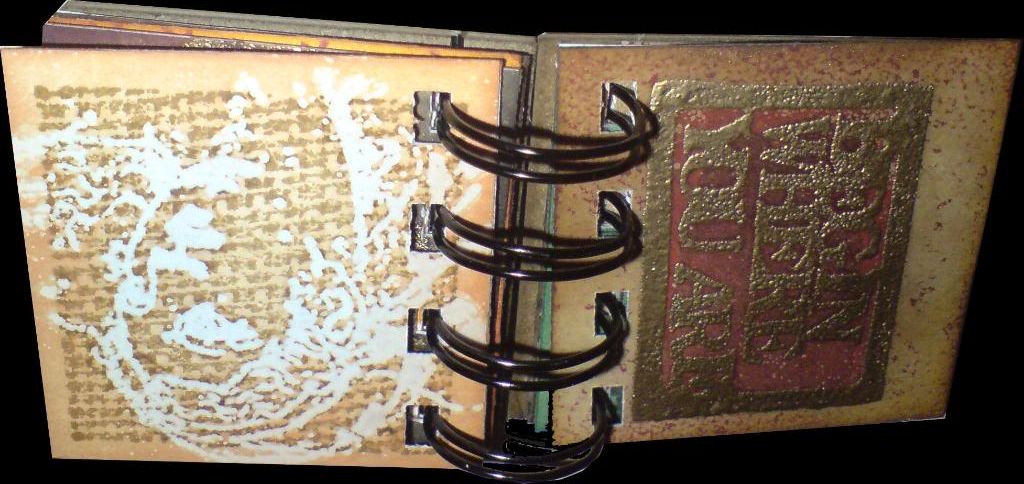
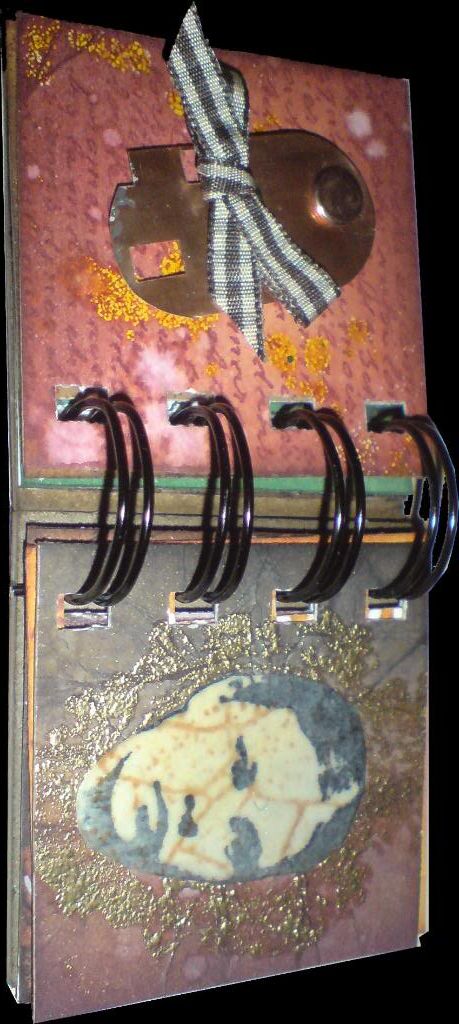
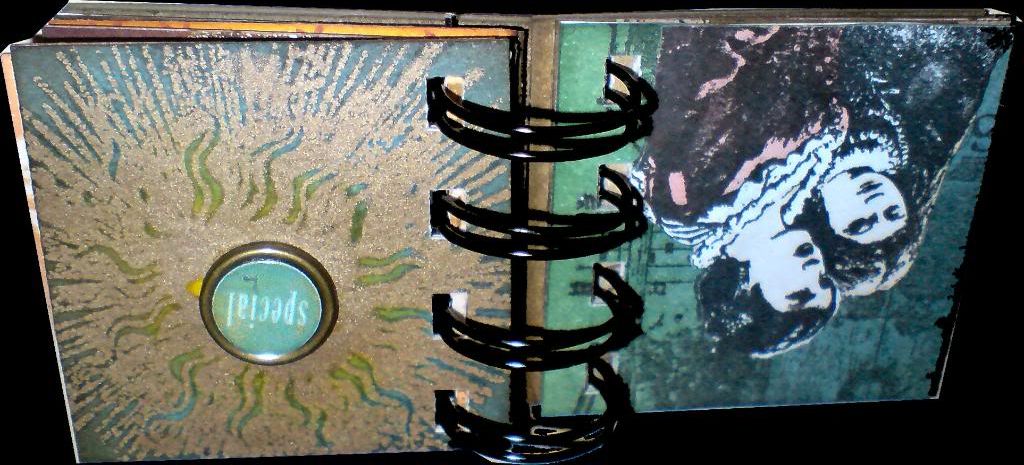
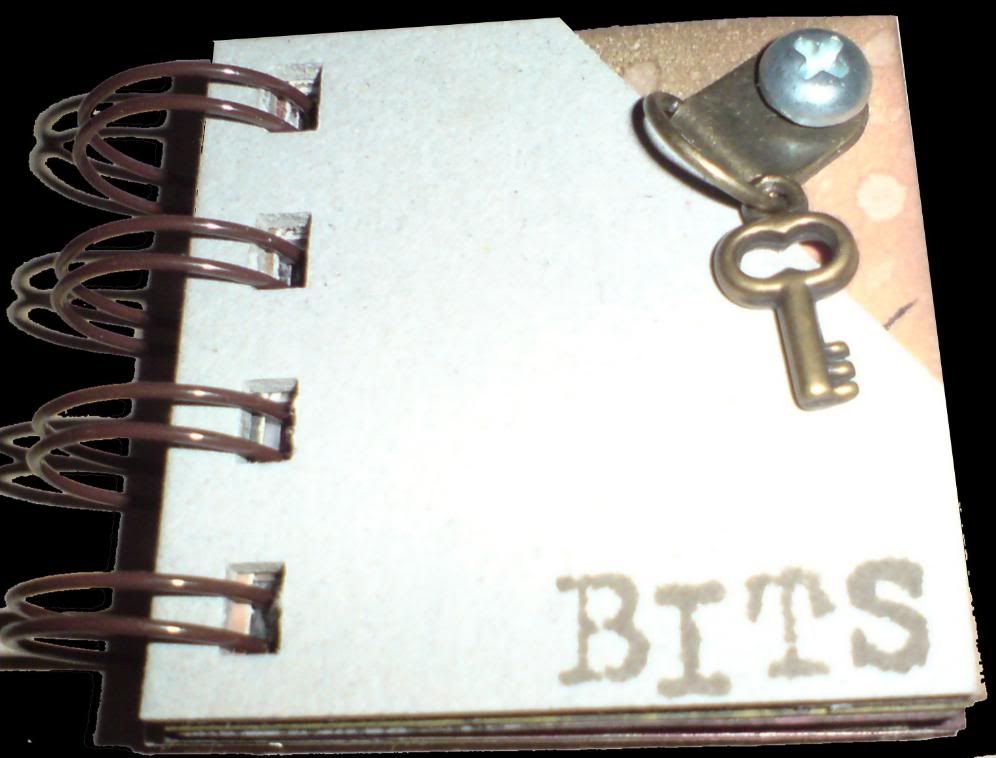
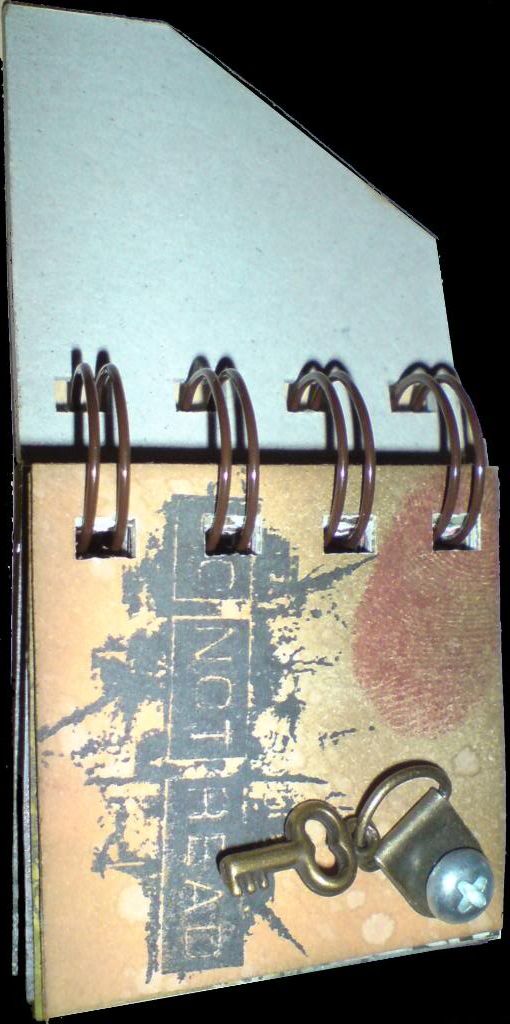
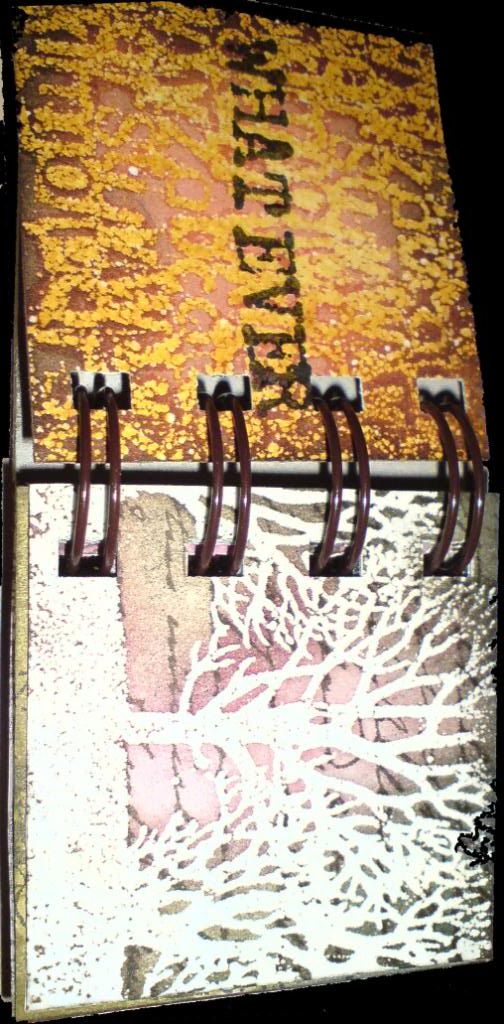
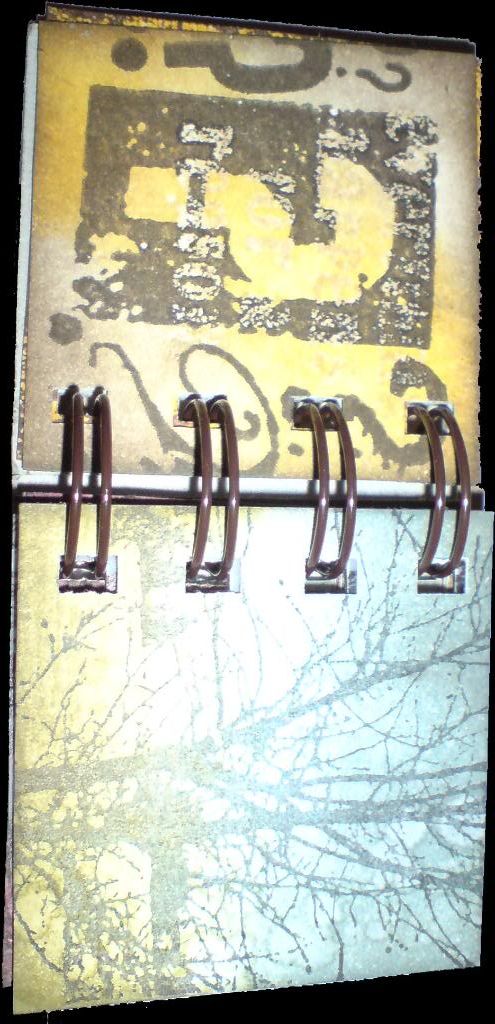
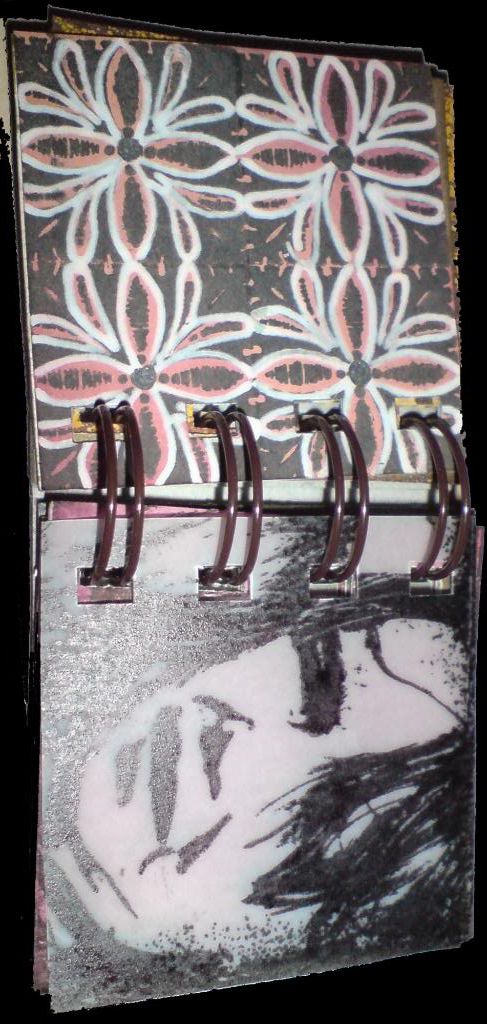
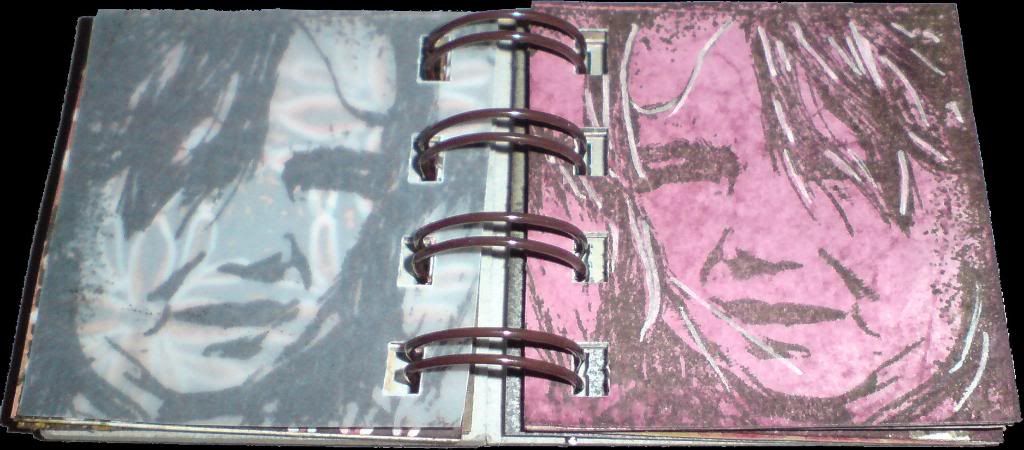
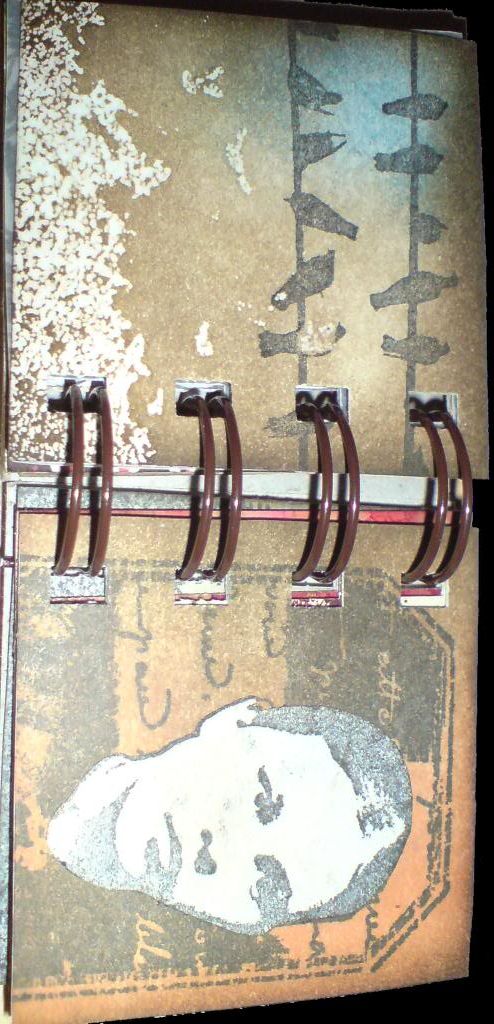
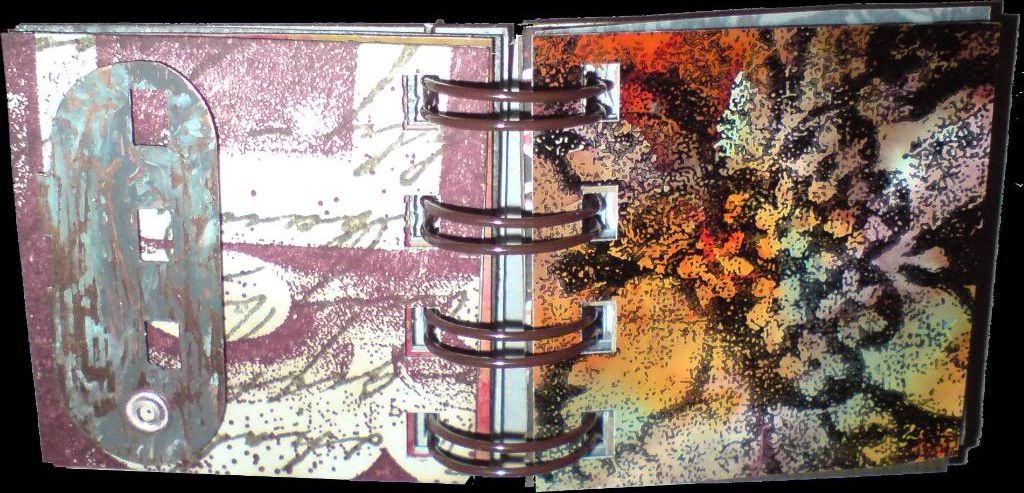
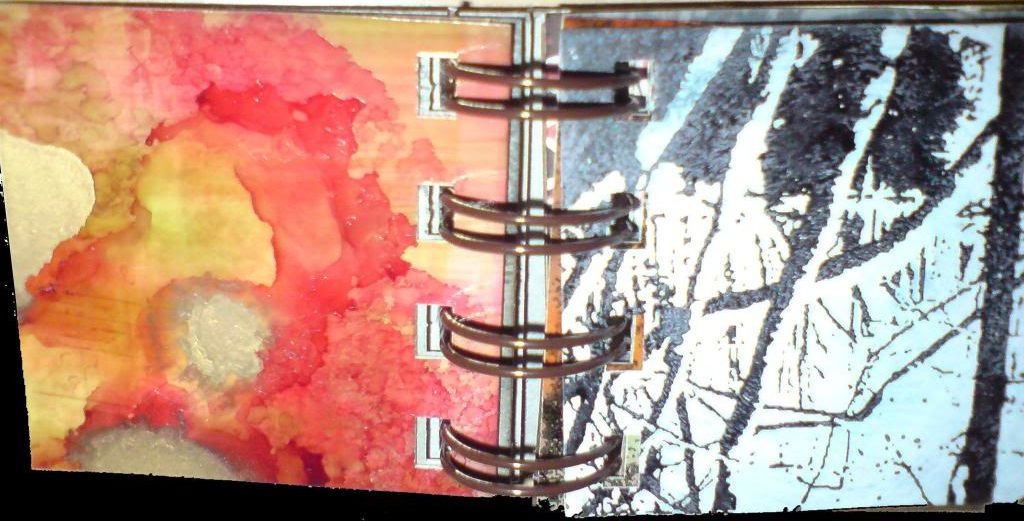
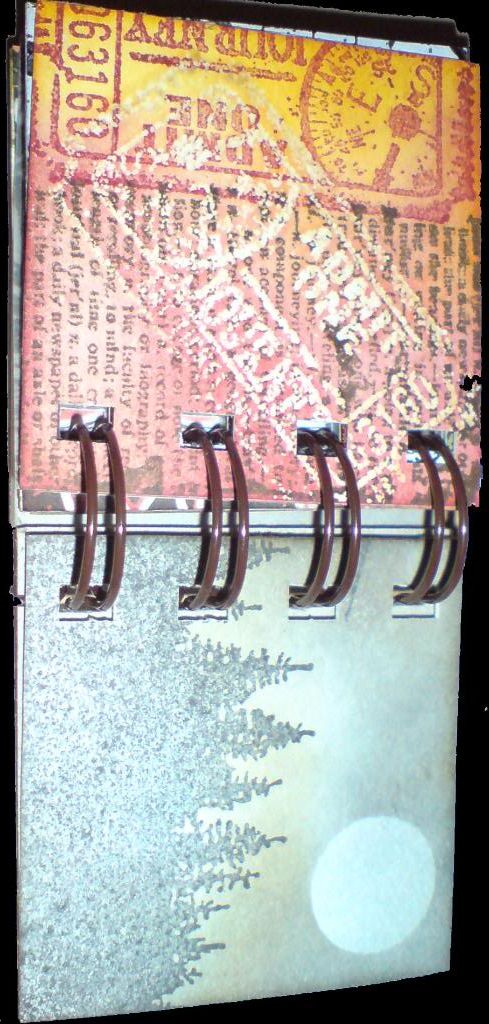
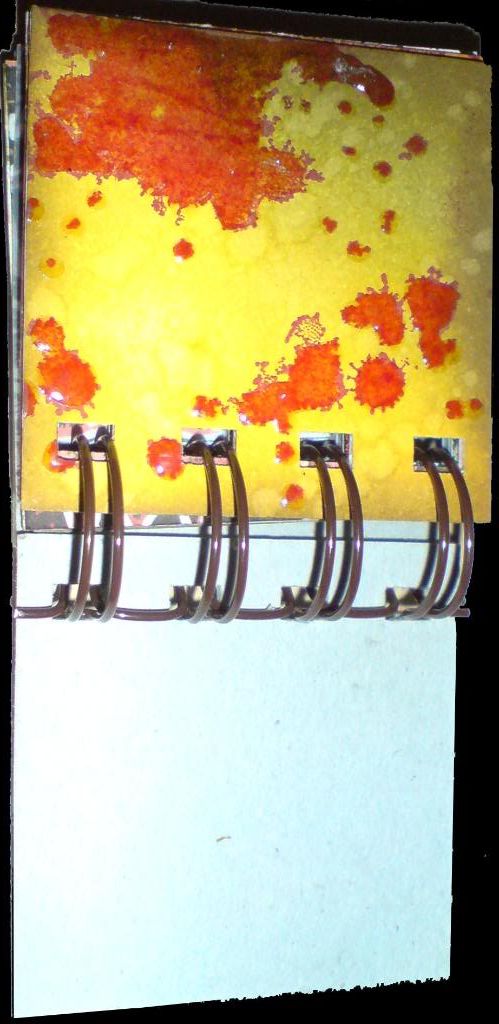
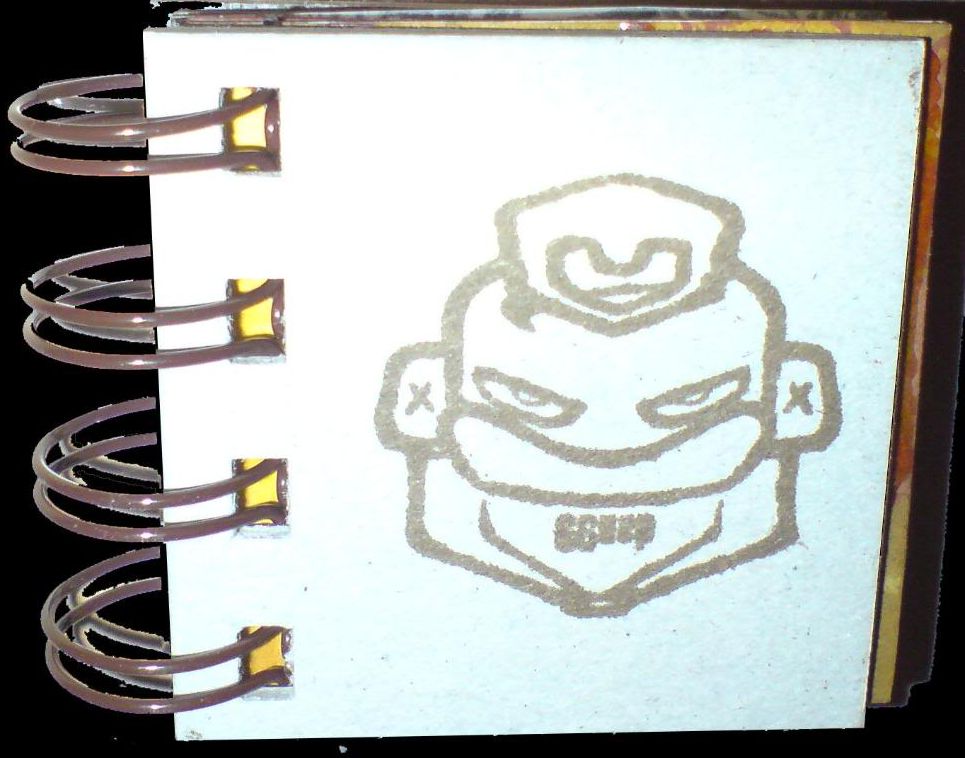
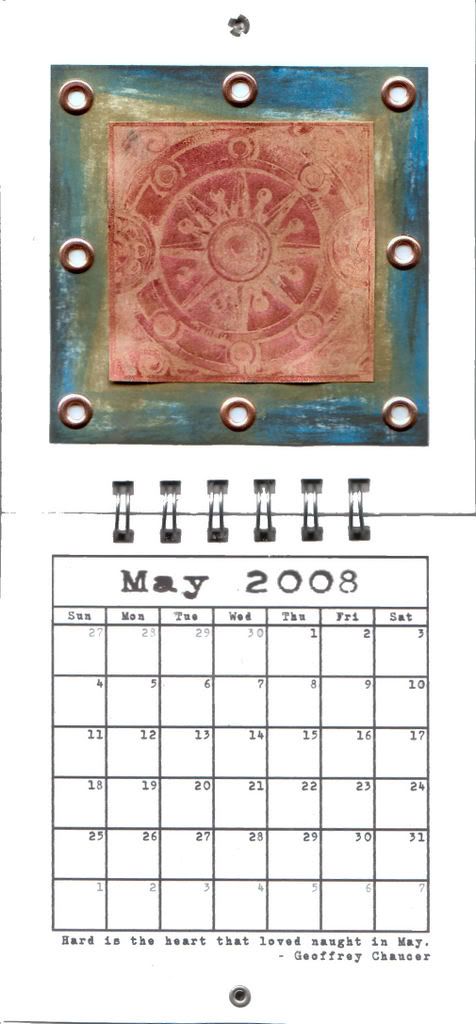
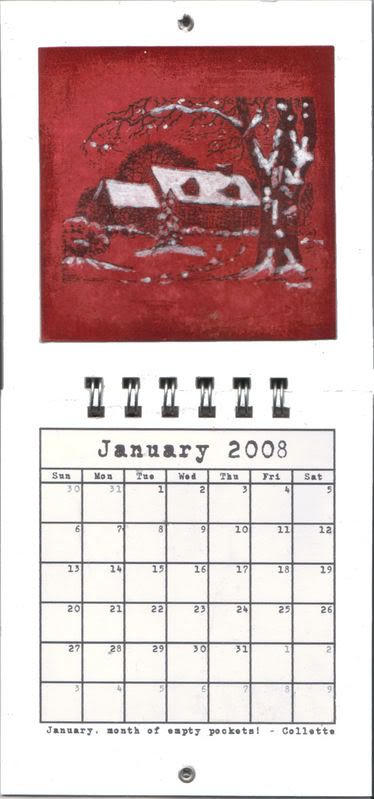
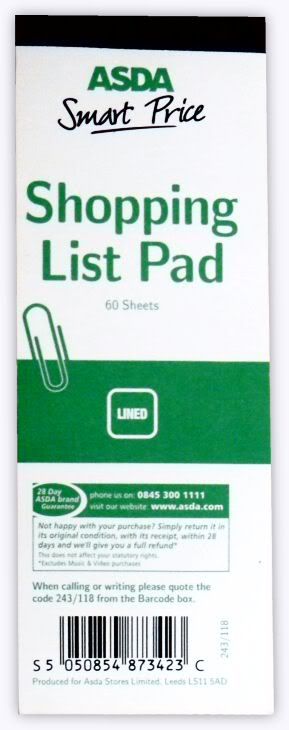
I started with a cheap supermarket paper pad and removed the cover and separated the pages and back.  I cut a new cover from Lost and Found card and stamped the wings onto it with Versafine ink.  I then coloured the wings with a paint marker and then embellished it with the clock image and metal parts.  The "TIME" also came from the Lost and Found pad.  Finally I bound the pad together with the Bind-it-all and finished the whole thing off with some Tim Holtz Idea-ology charms.

Our ever-generous sponsor Simon Says Stamp is offering a $50 gift voucher as the prize again this week! The winner will be chosen at random from those who enter the challenge, so why not give it a try? At the very least why not head over to the Challenge Blog to see how the other members of the design team have interpreted this weeks theme! :)


Friday, 16 October 2009

Create!

Another Halloween rest day today, so here are 2 more pages of the book I'm working on. Once again the blank pages were cut on the Cricut with Sure Cuts a Lot.

The grid pattern on the 2nd page was created by spritzing a checkerboard stamp with water and stamping it onto the previously distress inked card, I love how it turned out! The heart and banner stamp is by Tim Holtz at Stampers Anonymous.

The flower on the first page was cut out freehand with scissors, my hands are clearly steadier than I thought! :) The ticking stamp in the background is by Just for Fun, and the two girls are by Paper Bag Studios.

Wednesday, 14 October 2009

Snake Book Pages 1 & 2

I thought, dear reader, that we'd take a break from Halloween today, so here are two pages from a snake book I'm making, which will be bound with the Bind-it-All. They're not actually the first two pages of the book, but I've grouped them together here because the techniques used on both pages are the same. I only wanted 4 holes down each side of the page, so I didn't punch them on the BIA, I cut them on the Cricut instead, using the Sure Cuts a Lot software.

I used the faux batik technique on both pages. The large damask-type designs on the right-hand side of each page were stamped first onto the blank page using a Versamark ink pad and then embossed with clear embossing powder. Colour was then applied to each page using an ink blending tool, with the embossed areas acting as a resist so that colour didn't apply to those parts.

I then placed brown (kraft) paper over each page and ironed with a hot iron which melted the embossing powder until it soaked into the kraft paper and was removed from the page. Other parts of the page were then stamped and finally the main figures were stamped separately, coloured with Promarkers and cut out, then adhered to the page. I ran a pale grey marker around the edge of each figure to make it pop a little more.

2 down, 10 more pages to go! Click on the image for a larger view.

Thursday, 2 October 2008

Video Tutorial Part 2 - Bind-it-all Basics

Here is part two of the video tutorial, this time covering the basics of binding projects using the Bind-it-All, and in particular, a simple method to punch projects that require more than 6 holes!

I have also included links at the bottom of this post to printable step-by-step guides for binding your projects, which you can refer to while you work. Simply click on the size you require, A4 or US Letter (8.5x11)

Win a notepad! [NOW CLOSED]

If you'd like your name in the draw to win one of the samples I created during the filming of this video, leave a comment on this post. I will select winners at random in a few days time. Good Luck!! :)

Hopefully you should find these instructions easy to follow. Let me know how you get on!


A4 Printable Step-by-step guide

US Letter Printable Step-by-step guide

Monday, 30 June 2008

Nursery Wrongs 2

Some of you may remember that a while back I produced a mini-book of nursery rhymes with a modern twist - warning against the "evils" of the modern world in the same way as the traditional rhymes were often cautionary tales set around events of their day. (See it here).

I have now produced a 2nd volume, 7 more adapted poems with a sting in their tail (or tale for that matter!). I hope you like them, click on an image to see a larger version. :o)

EDIT: I want to take a second to address the comment made by Phree regarding this book. Thanks for your comment Phree :) I haven't presented these rhymes in my introduction as being funny, though if people are entertained by them, I am happy about that. I describe them as having "a sting in their tale", and certainly they were written from a cynical viewpoint, and were intended to have a core of truth to them. I think perhaps "satirical" might best describe them. Dictionary.com describes satire as "the use of irony, sarcasm, ridicule, or the like, in exposing, denouncing, or deriding vice, folly, etc. " - I think that pretty much sums up what I was hoping to achieve with both these and the first collection.
Dan x

Thursday, 1 May 2008

Covers for a book and another tag


I've decided to collect some of the tags I've made lately into a book with the Bind-it-all, so I've made some chipboard covers for it today. Yes, yes, I realise I've already made a tag very similar to those covers, but I enjoyed making it so much I wanted to do it again, LOL Plus, I'll leave that tag out of the book, seeing as how you're making such a big fuss about it! LOL

The tag uses a Stampers Anonymous stamp that isn't new, but IS new to me, and some fontwerks clear botanical stamps. The man is by PaperArtsy.

I hope you like em, click on any image to enlarge it. :o)

Thursday, 28 February 2008

Fragments Mini-book


I'm getting quite hooked on these 2x2 books! They're a great size cos they're big enough to stamp on, but small enough that you can finish them quickly. This one is for a friends birthday, a few pages are duplicates of things in other projects, but I have mostly missed those out on the photos I've included on here. I hope you like it!

Click on any image to enlarge it.

Saturday, 23 February 2008

Bits Mini-book


I've called this a mini-book, but perhaps it should really be called a micro-book, as it's only 2 inches square! It was intended as a kind of sampler, no set theme, just an attempt to incorporate a range of images and techniques on a small scale into one coherent whole.

As there are 18 sides plus covers in this, I'm not going to write about each one. Suffice it to say that the book incorporates stamping, masking, embossing, batik, dabbers and alcohol inks. That might sound a lot, but as the pages are so small, it didn't take to long to make. I hope you like it!

Click on any image to enlarge it.

Wednesday, 16 January 2008

Grungeboard Valentine Notebook


A couple of firsts in this project.... my first time using grungeboard, and my first time using the bind-it-all to make something with more than just 6 holes in it!

The covers are white mountboard, inked with fired brick, aged mahogany and walnut stain distress inks. The crackle pattern was stamped with walnut ink too. The edges were distressed with my new needle file set from B&Q - a real bargain, a set of assorted small files, very like the Basic Grey file set but with 6 files rather than 4, and under £3 - perfect for distressing paper/card/board etc.

The hinges were taken from the plain grungeboard elements set, coloured with a brown marvy brush marker and fixed to the covers with d/s tape then bradded at one end for an accent.

The heart and wings were from the same set. The heart was inked and stamped in the same was as the covers, the wings were painted with white acrylic paint, edged with walnut stain ink applied with cut'n'dry foam and accented with a grey brush marker. The gold board was a remnant from a previous project, coloured with moonglow spritz ink.

The pages inside were taken from a pack of 5x3 record cards I got in a £ shop.

I hope you like it! Click on any image to enlarge it.

Friday, 21 December 2007

Bind-it-all Calendar - December


Phew! And now it's done! :o)

This is a fat page sized version of a tag I'd made a while back. Background is scattered straw distress ink applied with a baby wipe and edged with faded burlap. The holly was stamped in pine needles then painted with a water brush. The berries were painted with fired brick ink, which was also used to stamp the "noel" text. Finally a little glossy accents was applied to give the berries a bit of shine.

The quote reads "I heard a bird singing in the dark of December - Oliver Herford "I Heard a Bird Sing".

Thanks to everyone that's stuck with me and looked at each month as I've gone along. I hope you liked it. It was fun to make, though a lot of work!

Nothing (yet) to follow tomorrow :o)

Thursday, 20 December 2007

Bind-it-all Calendar - November

November, and a page made with my own stamps that I had made. The birds in flight are one stamp (stamped 1/2 off the page on the left and right sides) and the birds on the ground are another stamp.

The background was created using Tim Holtz's embossing powder/flicking technique from the Christmas tags series on his blog. There's not much else to say about this one, except that I think the stamps have given a really clear impression, and I'm pleased with them! :)

Quote reads "How sad would be November if we had no knowledge of the spring! - Edwin Way Teale"

December tomorrow!

Wednesday, 19 December 2007

Bind-it-all Calendar - October


It's October, so it must be halloween! Dried marigold distress ink background, overstamped with Tim Holtz's worn wallpaper stamp in black. Blood drips (a stamp of my own design, actually paint drips, but it works for this too!) stamped in fired brick distress ink.

Distressed slide mount outline was stamped onto white card that had been coloured with shabby shutters distress ink, applied with a baby wipe. Witch was stamped in black onto white card, coloured with green ink and a water brush, trimmed and fixed to the back of the slide mount. Slide mount was fixed to the background using silver snaps.

All that remained was to stamp the text in black and distress the edges of the design with black ink.

Quote reads "October is crisp days and cool nights, a time to curl up around the dancing flames and sink into a good book. - John Siner"

November to follow tomorrow!


Tuesday, 18 December 2007

Bind-it-all Calendar - September


The start of Autumn, and the start of autumnal colours in my calendar. I started with a blank fat page, and coloured the top area with faded burlap distress ink. I stamped a row of bulldog clips across the top, then stamped them 1/2 on the edge of a piece of Basic Grey patterened paper, and stuck it to the background.
The woman's face was stamped 3 times, once in faded burlap to echo the background, once in black soot and once in fired brick. Elements of the 3 images were cut out and assembled. It was fixed onto the BG paper and stamped with a paper clips stamp.
"Begin where you are" was stamped in fired brick on white card which had been distressed with faded burlap ink applied with a baby wipe, and a black thumbprint. It was fixed into place and trimmed to fit. Finally, the whole thing was edged in black soot, applied with a baby wipe.
The quote reads: "September: it was the most beautiful of words, he'd always felt - Alexander Theroux".
October to follow tomorrow! :o)

Friday, 14 December 2007

Bind-it-all Calendar - May


Another month, another technique!

The background was created by applying black, burlap and faded jeans distress pads direct to a piece of white card. Copper eyelets were added.

The foreground was created with Moon Shadow Ink - a walnut based ink with an added shimmer powder for colour. The one I used was "Bucket o' Blood Red", so basically it's a watery brown ink with a fine red pearlescent/metallic powder mixed in it (which settles to the bottom when not used).

This is the technique: After shaking well, paint a small piece of white card generously with the ink. Take the stamp you want to use for the design and place it face down on top of the wet card then leave it there overnight to dry. Once it's dry, remove the stamp, and, as if by magic, all the pearlescent powder has moved to fill the parts of the image where the stamp wasn't touching the card! The design was trimmed then stuck onto the background.

June to follow tomorrow :o)

Thursday, 13 December 2007

Bind-it-all Calendar - April


Quite a few processes involved in this one, so (deep breath) here goes!

The background was Shabby Shutters distress ink pad applied directly to paper which was then splashed with water drops and dried. It was then stamped with a paint splatter stamp I have, also using Shabby Shutters. Using Pine Needles ink, a large square was then stamped in the centre.

Alcohol inks and blending solution were then applied to a sheet of glossy photo paper. The main image was stamped on top using black Stazon ink, and was stamped again on plain white card. The leaves at the top of the image on the photo paper were coloured using Pine Needles ink pad and a water brush (yes, it works on glossy photo paper!) The image on white card was coloured with distress ink pads and a water brush, then the central focus was cut out and stuck in place on the photo paper background. I tore the edges, then stuck it in place on the water-distressed card background. Phew!

The quote reads "April is a promise May is bound to keep - Hal Borland"

May will follow tomorrow :o)

Wednesday, 12 December 2007

Bind-it-all Calendar - March

Time for the next installment of my 2008 Bind-it-all Calendar, and as it's Wednesday, that must mean March!

The image background was cut from a 6x6 Basic Grey paper, distressed by applying black soot Distress ink around the edges with a baby wipe. The paper has a slight sheen to it, so the paperclips and ruler images were stamped using Stazon ink to get a better impression. The words "spring awakening" were stamped in pine needles Distress ink.

The main image was created on glossy photo paper. I tried to use colours that would echo those on the backing paper I'd chosen. Bottle, Denim, Caramel and Terra Cotta alcohol inks were dropped on the paper, and lightened with a few squirts of blending solution. A 2nd sheet was then placed on top and moved around, to create two sheets of identical (or at least very similar) paper. One was filed away for future use, the other was overstamped with the spring themed image in black Stazon. Finally, it was trimmed to size and matted onto black card and stuck to the background.

The quote reads "Our life is March weather, savage and serene in one hour. - Ralph Waldo Emerson".

I hope you like it! :o)

Next installment tomorrow!

Monday, 10 December 2007

Bind-it-all Calendar


I decided to use my trusty Bind-it-all to make a calendar as a Christmas gift for a friend. I will post a month on here each day for the next 12 days. The front cover was created on glossy photo paper with alcohol inks, then stamped with Stazon. January was distress inks and white pen. I trawled the web to find a month-related quote for each page. I hope you like it! :o)

February to follow tomorrow!
Related Posts with Thumbnails