Showing posts with label papers. Show all posts

Monday, 3 November 2008

Video Tutorial - Advent Sour Cream Container


Let's start by getting one thing straight, I'm not claiming to have invented these! Originally I thought they'd started out on Split Coast Stampers, but after googling it, they're all over the place! One thing I haven't seen is a video on how to make them, so I thought I'd give it a shot!

These are really simple to make and look wonderful hanging on the tree or piled up in a big bowl, ready for the morning scramble to find the next package to open!

I use circles and scalloped circles on these that I have cut on my Cricut with SCAL. Hopefully many of you downloaded the scalloped shapes when they were a freebie on my blog. If you have the scalloped Nestabilities dies, you could use those instead! These are really fun to make, so why not try 'em? Enjoy!

Tuesday, 28 October 2008

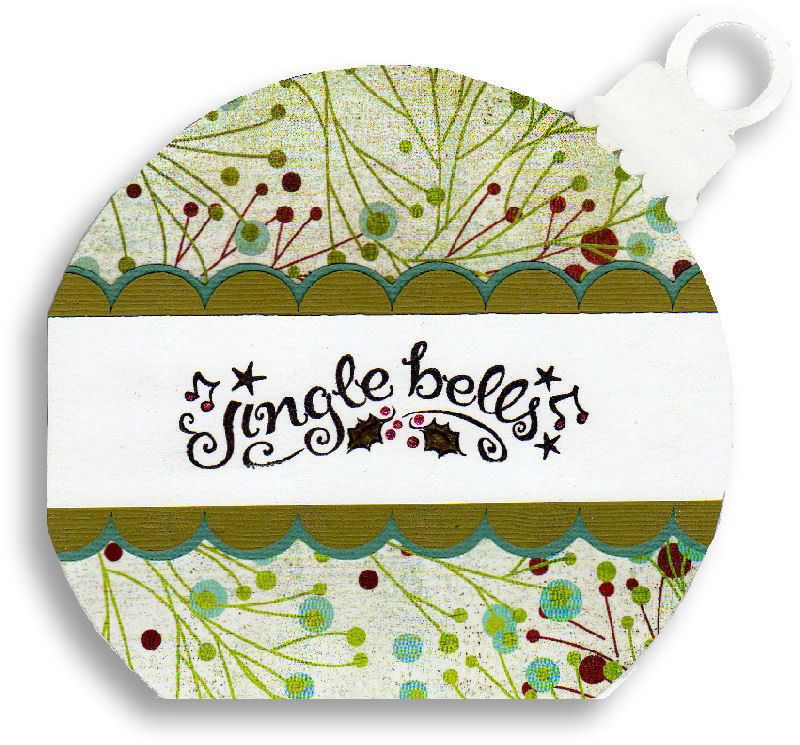
Groundhog Ornament!


Another day, another ornament card. I have tweaked the design a little, mostly by changing the hanging loop to a scalloped design. Yesterday's cards were stamped, today I used papers cut on my cricut to decorate this one. I hope you like it!

Monday, 22 September 2008

Getting Figgy With It!

[EDIT - I understand some of you have had difficulty in finding the show on TVWeekly that has instructions on how to make these boxes. The link is here!]

Yes, yes, it's another of those TVWeekly organisers.

Yes, yes, I know that you're bored with them now.

Yes, I promise I won't blog any more of them!

This is the 3rd I've made, and the 3rd type of fastening I've tried. I like this one best, ribbon bradded onto the front and flap, to be tied in a bow. IMO it looks the nicest so far, and also fastens best! I used Basic Grey Figgy Pudding for the top, and Bazill for the bottom.

Click on the pics to enlarge them, I hope you like it! :)


Thursday, 3 July 2008

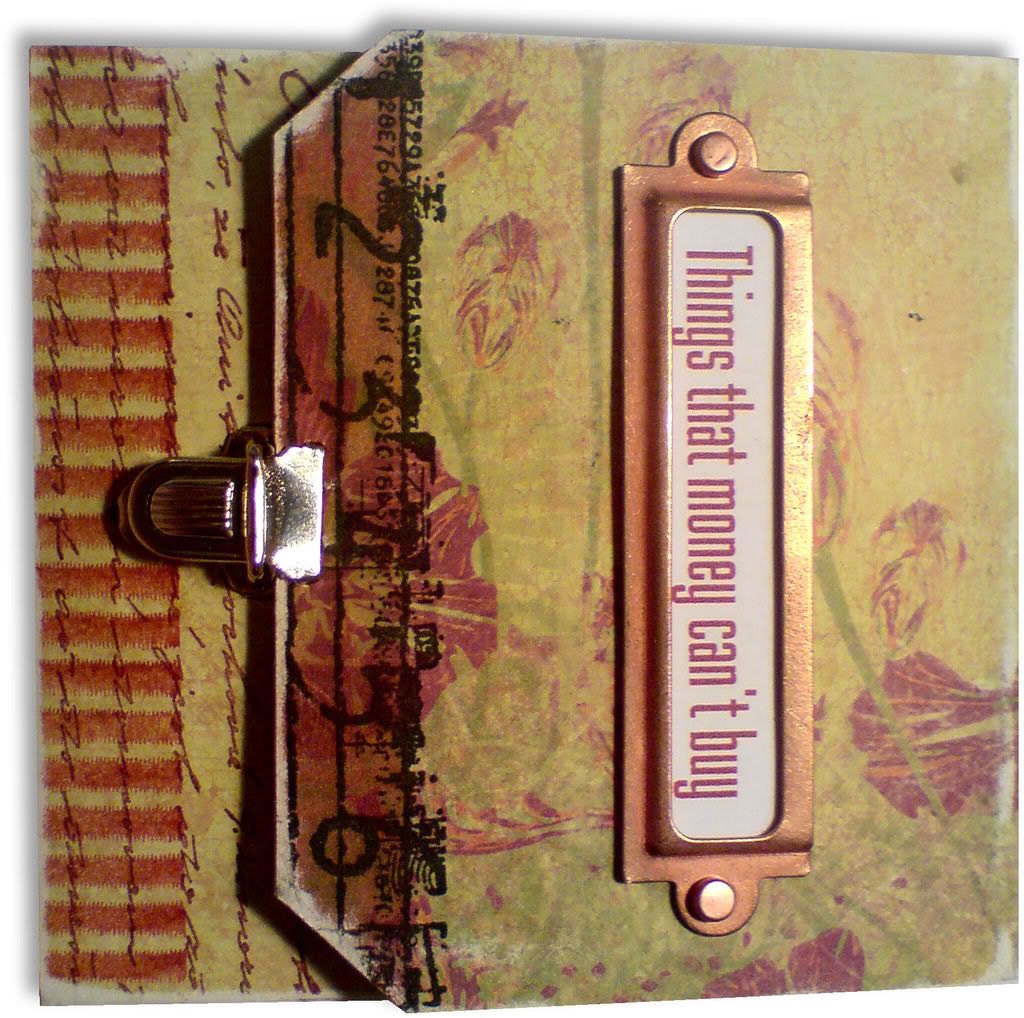
Things that money can't buy

I've made this for my friend Hel's weekly pocket challenge. I've decided again to stamp onto patterned paper for this one, and I'm enjoying that aspect of these, it's not something I've done much of in the past.

I've had a few briefcase closures in my embellishment box for the longest time, with no idea if or how I'd ever use them. This project was a perfect opportunity!

After cutting out the pocket shape in white card, I covered both sides with PP (from Costco). The ruler stamp was applied to the outer edge with black versafine ink, then tinted with fired brick distress ink. I printed the title text from the computer and then fixed the bookplate and fastening in place and sanded the edges of the pocket.

All the stamping inside was either with black versafine, fired brick or aged mahogany distress pads.

I won't go into detail regarding most of the stamping, there's nothing out of the ordinary about it. The text on the loose paper below the american "quarter" coin was stamped onto PP, then I used white acrylic paint, applied with my finger, to "knock back" the green-ness of the paper.

The coins were fixed in place with glossy accents, and the "mum" was written in my own fair hand :o)

Not much else to say really! I hope you like it, click on the images for a better view.

Monday, 9 June 2008

"Round" ATC

This is for the Think Monday, Think ATC challenge, where the theme was "round".

The face and buttons were stamped and masked, then the tag was coloured with blended broken china and faded jeans distress ink pads. The script was stamped in faded jeans, along with the spiral binding in black. I coloured one of the flowers I cut out on my cricut with the broken china pad and fixed it in place. Lastly the edges were distressed a little with walnut stain ink, and sanded.

I hope you like it, click on the image to enlarge it. :o)

Friday, 6 June 2008

"Truck" tag

Not my usual style, patterned papers, and it's a bit of a mixed bag, this tag. I wanted to have a play around with the double-sided scrapbook papers I recently bought from Costco, so I started cutting out bits and bobs on the Cricut.

The flower is one that I created myself on the pc using Inkscape, then cut out on the Cricut using SCAL. As this features both a monogram and a mode of travel, this is doubling as my entry in this weeks Tag You're It! and Thank God It's Friday challenges.

The edges of the tag and flower were distressed with a glass file (thank you Annette!). Stamping was with black versafine ink, and parts were coloured with a redwood Ancient Page ink pad.

The monogram was cut in Arial Black font, as was the negative word "TRUCK".

I hope you like it :o) Click on the image for a larger view.

Tuesday, 18 December 2007

Bind-it-all Calendar - September


The start of Autumn, and the start of autumnal colours in my calendar. I started with a blank fat page, and coloured the top area with faded burlap distress ink. I stamped a row of bulldog clips across the top, then stamped them 1/2 on the edge of a piece of Basic Grey patterened paper, and stuck it to the background.
The woman's face was stamped 3 times, once in faded burlap to echo the background, once in black soot and once in fired brick. Elements of the 3 images were cut out and assembled. It was fixed onto the BG paper and stamped with a paper clips stamp.
"Begin where you are" was stamped in fired brick on white card which had been distressed with faded burlap ink applied with a baby wipe, and a black thumbprint. It was fixed into place and trimmed to fit. Finally, the whole thing was edged in black soot, applied with a baby wipe.
The quote reads: "September: it was the most beautiful of words, he'd always felt - Alexander Theroux".
October to follow tomorrow! :o)

Monday, 29 October 2007

Halloween colours birthday card


I thought I'd break with my usual style and try a bit of digi-card making. I used papers and accents from shabby princess and 2 peas in a bucket for this, and must say I really enjoyed making it. And my hands were clean at the end of it!! :oD

Click on the picture if you want to see a larger view.

Monday, 22 October 2007

Flipbook - Trying Something a Bit Different

For quite some time now I've been dissatisfied with the way I've been displaying my work on this blog. Most of the things I make are books of one kind or another, and separating the pages and displaying them as individual images seems to me to take away a lot of their fundamental bookiness (I know that's not a real word, but as far as I'm concerned, it is now!). The main point of making a book and binding it is so that the person who looks at it does so by turning it's pages one after another, and that page-turning process is at the core of how we as readers interact with books.

So, I sat down at the computer (you all knew that I'm a rubber stamp geek, but did you know I'm a computer nerd too? lol), and MUCH tearing out of hair later (yes, yes, I didn't have any hair to begin with, I know. Still, it's a bit mean of you to point it out, shame on you!) I've created another version of my "I Know" book that I put up here in my previous post. It should (if it works correctly) allow you to "turn" the pages, and to zoom in and out of any page that you want to get a better view of.

This is how it works


This is the kind of view you will see while you browse through the book. Click your main mouse button on the bottom corner of any page, and holding it down, drag your mouse to turn the page. Letting go of the mouse button will release the page. You can do this to go forwards or backwards through the book. You can also click the other mouse button to zoom in or out.

I'd really value any feedback on this that you care to give! Should I display my past and future books like this too, rather than as regular images? There was quite a bit of effort involved in getting this to work, although now that I've done it, hopefully future examples can be made much quicker. All the same, if most of you don't like looking at the book this way, I'd prefer not to waste my time! LOL

Click here to see the "I Know" Flippable Book

P.S. If it doesn't work for you, your browser may not have the latest version of the bit it needs to see the book. You can get it by following this link:

Update your Flash Player

Saturday, 20 October 2007

I Know

Challenged by a friend to make something using scrapbook papers (something I don't do often), this is what I came up with. The song I Know What You're Doing by Dionne Farris is a favourite on my ipod right now, and as I was listening to it when I started this, I used some of the lyrics as the text.

It's a Maya Road chipboard book, and was covered with Sage and Sky Butcher's Block papers. I've had those for a long time and always liked them, so it's nice to have finally used them on something. I also used some of the new Tim Holtz unmounted stamps, which I'm loving! While on holiday in the USA in the summer I bought some snaps that look like phillips screw heads, and I've used those for the first time here. Am loving those too!

This turned out a lot grungier than I had originally planned, I guess it was just the mood I was in! Oh, and just to say, if I'd actually counted and realised there were 20 sides of chipboard to be worked on, I may never have started it!! LOL

As ever, click on an image if you want to see a larger version. Enjoy :o)

Related Posts with Thumbnails