 [Edit - I've started to make my files available from my blog again and am adding a new set each week. Check out the "Cutting Files" tab at the top of the page to see which ones are available for download.]

Looking back through the freebies I've given away here in the past, I've come to the conclusion that most of the files I design are intended to be the base of a project rather than the decoration for a project. This probably reflects the way in which I mainly use my Cricut - I've got lots of stamps and brads and ribbon and embellishments, what I need is something nice to put them on! :) This weeks collection is no exception to that rule!
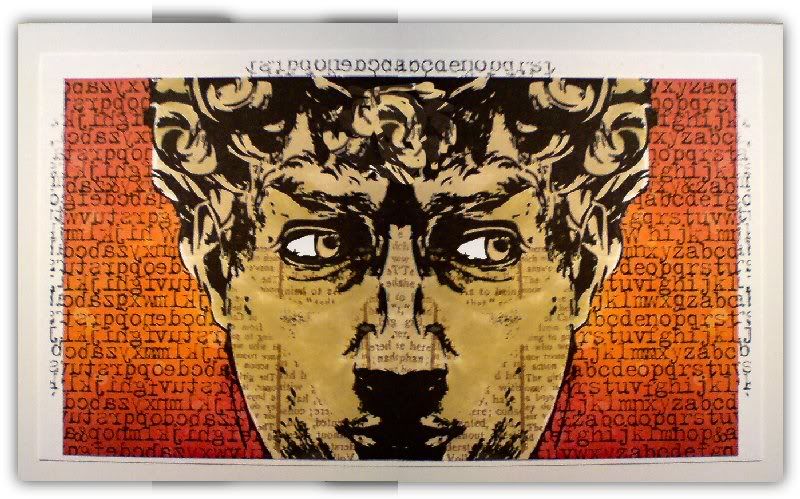
Hopefully you'll find all kinds of uses for these plaques and shields. Pictured right is one that I cut out and decorated earlier in the week (yes, I know that shape isn't in this collection, but you get the general idea! lol) Use them as fun pages in a mini-book or as mattes for photos on a scrapbook page. Why not use them as tags, a nice change from the usual shapes we usually see!
Please remember you are only allowed to download this file for your own use and may not distribute it to others in any form. I spend a great deal of time creating my designs, please respect the terms under which they are given.
Again, this template will be "live" for 1 week. Next week it will be taken down, and new ones will replace it. Don't forget, if you have any requests, pass them on! I can't promise, but I will take suggestions into account when planning future templates.
These files may not be uploaded to a group, forum or website for sale or redistribution, or shared among individuals. They are expressly for the personal use of each person that downloads them from this blog.
There are 4 files and I have put them into a zip file to make downloading easier. After saving it, open in the usual way, and drag the files out onto your desktop or wherever you wish to save them.
There are 2 versions of each template:
- An SVG version which can be imported into the Sure Cuts a Lot or Make the Cut program and then cut out on your Cricut.
- A DXF version which is Craft Robo friendly, and ready to be imported into your Robomaster software (I'm not a Robo user, so if there are any problems with this, please let me know!)
Simply click on the appropriate button below to download the file!
Any feedback on the templates is more than welcome, and if you have any suggestions for possible future templates you'd like to see, please let me know!
If you make anything using one of the templates, please post a link to it here so that others can be inspired by how you've used them!
I hope you like the templates - let me know how you get on! :)
Templates © dan99crafter@gmail.com 2010

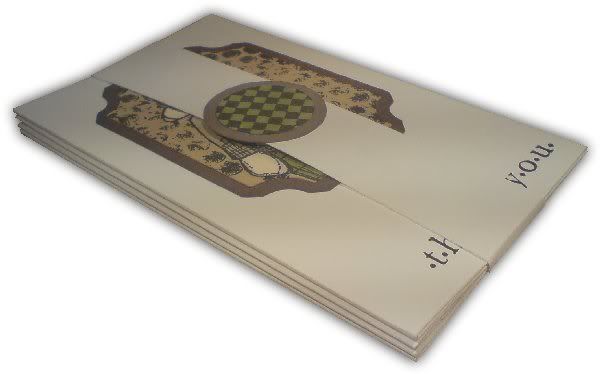
 Inspired by some of the hangy things my friend Linda has been making, I decided to make something tonight that used more embellishments than is the norm for me. I used one of my shield designs from a little while ago, cut twice and layered to make it stronger.


