Showing posts with label basic grey. Show all posts

Friday, 5 February 2010

Autumn Concertina Tag Book

While I don't have access to my crafting stuff I thought I'd take this opportunity to show some things I've made in the past which predate this blog. Today we're going back over 3 years to September '06! This is the sample I made for a class I was teaching at the time, 4 autumn themed tags in a distressed concertina folder. I've just realised as I'm writing this that the piece predates my addiction to stamping - in fact at this point I didn't even own a stamp and most of my crafting was computer-based! Click on any image for a larger view.


The folder was made from a piece of moss green white-core cardstock with a brown check paper adhered to the back. After shaping and folding, the pockets were held in place with eyelets at each end. It was then sanded to distress it and the quotes were matted and fixed to the pocket fronts. The black plastic name plate on the front was coated with a tape runner and then gold metallic flakes were applied to gild it. It was then sanded to distress the edges and fixed in place with brads.

Tag 1 - The flourishes on the background paper were enhance with gold stickles and the burlap swatch was fixed in place with double sided tape then secured with two textured brads. The quote mat was edged with gold Krylon pen and the quote was fixed to the tag with d.s.t. Finally a brown circle was fixed to the tag and then set with a large eyelet and cord was added.


Tag 2 - Fairly simple this one. Basic Grey background paper, matted quote with inked edges and a spiral paper clip (gilded with Krylon).


Tag 3 - The green tortoise-shell effect was achieved by dabbing alcohol ink to a piece of clear acetate with a square of felt, waiting a second for it to dry, then repeating the process until the desired effect was achieved. The acetate was then cut to shape and turned into a sticker by running it through a Xyron sticker maker (the small X shaped Xyron machine). It was then affixed to the tag. The brad was white, coloured with alcohol inks to match the colour theme of the tag.


Tag 4 - The tag background paper was made on the computer using hundreds of leaf images then printed and fixed to the tag. The slidemount was covered in brown cardstock and a strip of brown check paper was fixed down one side. The leaf image was printed from the computer, aged with brown chalks and fixed in place. An eyelet was inserted in the corner of the slidemount and fibres tied through it.

Simple as that! I hope you enjoyed this little trip down memory lane with me, there will be another one soon! :)

Tuesday, 28 October 2008

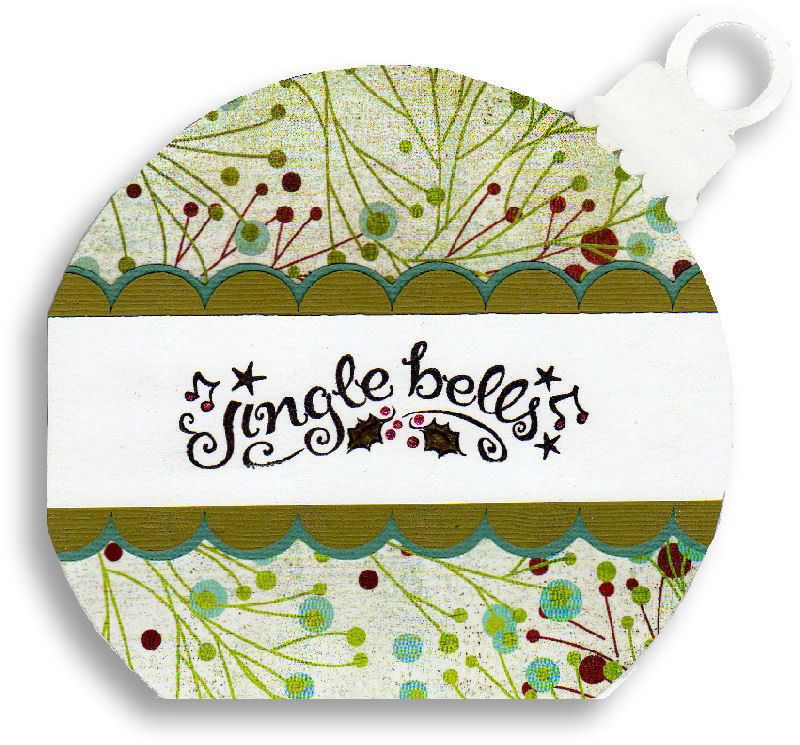
Groundhog Ornament!


Another day, another ornament card. I have tweaked the design a little, mostly by changing the hanging loop to a scalloped design. Yesterday's cards were stamped, today I used papers cut on my cricut to decorate this one. I hope you like it!

Monday, 22 September 2008

Getting Figgy With It!

[EDIT - I understand some of you have had difficulty in finding the show on TVWeekly that has instructions on how to make these boxes. The link is here!]

Yes, yes, it's another of those TVWeekly organisers.

Yes, yes, I know that you're bored with them now.

Yes, I promise I won't blog any more of them!

This is the 3rd I've made, and the 3rd type of fastening I've tried. I like this one best, ribbon bradded onto the front and flap, to be tied in a bow. IMO it looks the nicest so far, and also fastens best! I used Basic Grey Figgy Pudding for the top, and Bazill for the bottom.

Click on the pics to enlarge them, I hope you like it! :)


Sunday, 18 May 2008

The long arm of the flourish

This is my attempt at this weeks Gothic Arch Challenge. The theme is "flourishes", and I think there are enough of those on here to qualify! :o)

I started out by using cut'n'dry foam to ink the white arch with spiced marmalade and fired brick distress ink pads. I then spritzed with a little water to make drop marks on it. Using black Versafine I did all the stamping, and then went mad with my white pen! :o) Finally a little walnut stain distress pad around the edges to age it a little.

This piece is roughly A6 size, using a template from the challenge site. I really enjoyed this, I hope to try more of the gothic arch challenges in future. Click on the image to see it larger. I hope you like it! :o)

Friday, 16 May 2008

Home is where the art is...

... is a quote we've all heard before, I'm sure, but I couldn't resist it today! :o) I've just joined what I think is going to turn out to be a really fun swap! Each person has to make 21 itsy-bitsy-teeny-weeny houses, send them off to the organiser, then gets 20 back from other artists in return.

Each house must be 2.5in wide and can be anywhere between 3 and 6in tall. Apart from that, all rules are off! I think 5 or 6 tiny houses arranged in a line will look awesome in the right frame, I'm really looking forward to seeing what I get sent back - I need more art on my walls! :o)

I thought I'd have a go at just a couple today, to suss out the lay of the land, see if there were any mistakes waiting to pick me to happen to or any problems I hadn't forseen - all that malarky! :)

The right hand house was coloured with distress inks (shabby shutters and broken china), stamped with basic grey and fontwerks flourishes and painted with a waterbrush and fired brick distress pad.

The house on the left uses the batik resist technique. It was stamped with the tree in embossing ink and clear embossed. After the rest of the inking/stamping was finished, I placed some brown paper over the house and ironed it with a hot iron - melting the embossing powder again so that soaked into the brown paper and was removed from the house, leaving a white image behind.

I'm not sure if I'm going to include these two into my swap or not. To be completely frank, I just don't like the one on the right. Those of you that read my blog regularly will know that from time to time I put "mistakes" onto my blog, and this is one of them, lol! I will approach the rest slightly differently I think - I just hadn't really taken on board how small they are, and am a little wiser now! :o) 3 more tomorrow, watch this space.

I hope you like them, click on them to see a larger view!

Saturday, 10 May 2008

Um.... 5 More Triangular ATCs


Well, I enjoyed making the last 5 so much, I thought I'd make 5 more! This time, I didn't have the sense to make two of them point-side down, so they'd be easier to photograph, so they're split into 2 images here. Click on either to enlarge them.


Nothing groundbreaking to say about these really! In the second, the word "bored" is deliberately spelled that way! Honestly!! :oD The 2 stamps used in the 4th are some that I had made for me as a one-off.

I hope you like em! Ta for taking a look! :o)

Wednesday, 7 May 2008

Basic Grey Flourish Stamp Tags


Two tags made with some flourish/swirl type stamps from Basic Grey.

The main images were stamped in black versafine then masked. Both tags were coloured with distress ink pads applied with cut'n'dry foam and flicked with water drops, which were allowed to dry. The flourishes were stamped stamped in black versafine and a waterbrush was used with distress pads to colour them. Finally they were distressed around the edges with a fine application of distress ink (walnut stain).

I hope you like em! Click on a tag to see a larger view :o)
Related Posts with Thumbnails