Thursday, 11 February 2010

Love Me, Do

Stampotique have launched the Stampotique Originals Challenge Blog, and the first challenge is to make a love themed card.

I stamped the edges of the card with a Wendy Vecchi text background stamp and then applied Shabby Shutters distress ink to colour the card. The flourishes were from one of Tim Holtz's new stamp sets that were launched at CHA recently, and were highlighted with a Ranger white pen.

The large heart was cut roughly by hand and splodged with white and red acrylic paint which acted as a resisit for the Brushed Corduroy ink I applied once the paint was dry. It was matted onto a heart cut from brown card and then matted again onto a white card heart that was stamped with parts of a Wendy Vecchi gingham stamp, masking each part before stamping the next. The small gingham hearts were punched out of white cardstock and stamped with the same gingham stamp.

The little man was stamped on white cardstock and then coloured with Promarkers. He was cut out and mounted on the card using 3d foam. His heart was punched and mounted with foam too. And that's about it! I hope you like it, click on the image if you'd like to see a larger view! :)

Wednesday, 10 February 2010

Believe Tag 2: Armed and Dangerous

Well, not so much armed and dangerous as a sequel :) A long while back I posted a tag here that I'd made for a swap I was involved in (see it here).

At the time I said I wasn't very happy with it and would give it some more thought. I've only just realised that I forgot to post the final version, so I'm correcting that omission now! I almost (but not quite!) like the back better than the front, LOL Click on either image to see a larger version.


Front: The Santa stamp is one of Sir T!m's, the "BELIEVE" was printed from the computer. The bookplate was gilded and sanded. The "25" was cut on the Cricut and then inked and stamped. The baubles were cut with a circle punch, the hanging loops on them were cut on the Cricut. The toy soldier was cut from a piece of PP. The snowflakes in the background were stamped and embossed in white then the 2 shades of distress ink blue and black were applied with foam.

Back: Stamps by Elements (a Canadian company who were going to let me spend a day with them when I was in Vancouver, observing how stamps are made, but our diaries never matched up!). Coloured with Distress Ink pads applied with a water brush.

Tuesday, 9 February 2010

Citizen Kane ATC

Another trip down the dimly-lit staircase into the archives, this also hasn't been seen on here before.

Back in the day (you know, in the days of yore), I was on a forum that had an ATC challenge every Friday evening, and one week the theme was "favourite movie". Citizen Kane is one of those movies that always comes top, or near top, of the movie polls, but that no one actually likes. I must be the exception, I LOVE this movie, so it was a clear choice for this project!

I made a triptych ATC (you don't even want to know how much work it took to get those shaped doors to match up with the images on both sides of them!). You can see it closed and open here, along with the sleeve pocket I made to store it in. Obviously, this is another of my pieces before I started stamping! I hope you like :) Click on the image for a more detailed view, comments welcomed!

Contest Winner!


The winner of yesterdays contest was....

Rockin Robin Caldwell!

Congratulations Robin, if you email me we can sort out your prize!

Thanks to everyone who took part, and for your kind comments!

Sunday, 7 February 2010

The Line, The Cross and the Curve

Today we are continuing our trip through past projects that I have never blogged. I'm so pleased to finally show this one here, as it's one of my favourites, and was a LOT of work! LOL

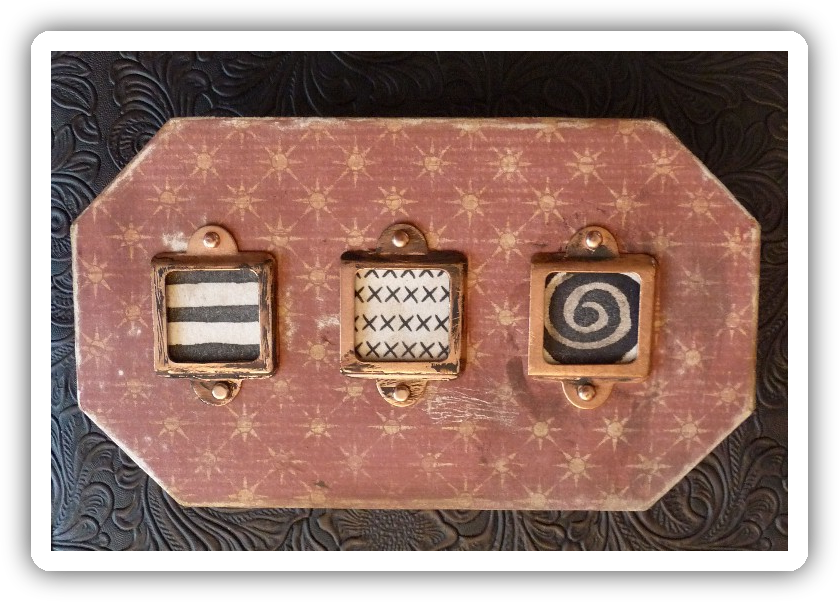
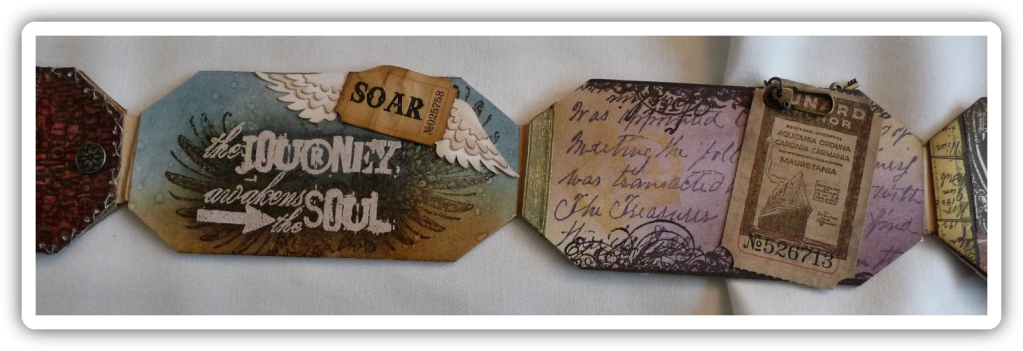
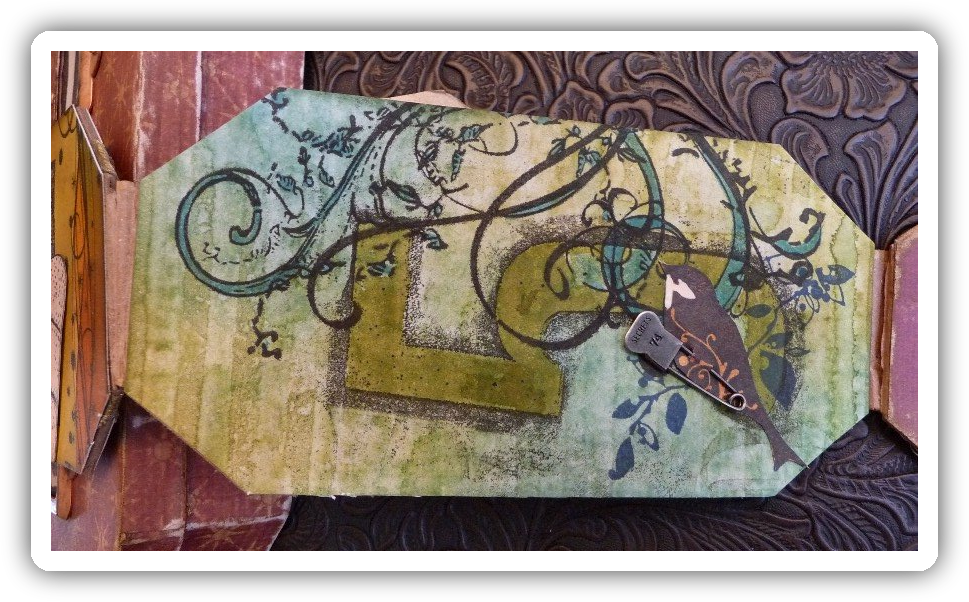
Well over a year ago I was invited by Scrapbook Sisters (a great store by the way, that runs some great classes!) to be guest designer on their blog. They sent me a Melissa Francis kraft paper covered chipboard box with concertina book, and after several days, this was the result!

I covered the box with my favourite cardstock of the time, which was one from a collection from Costco, then sanded and inked it to distress it. The copper bookplates were distressed with acrylic paint and sanding and stamped images were inserted to represent the line, the cross and the curve. The inside of the lid was primed with red paint and then gilded, while the inside of the box itself was painted a deep, rich red.
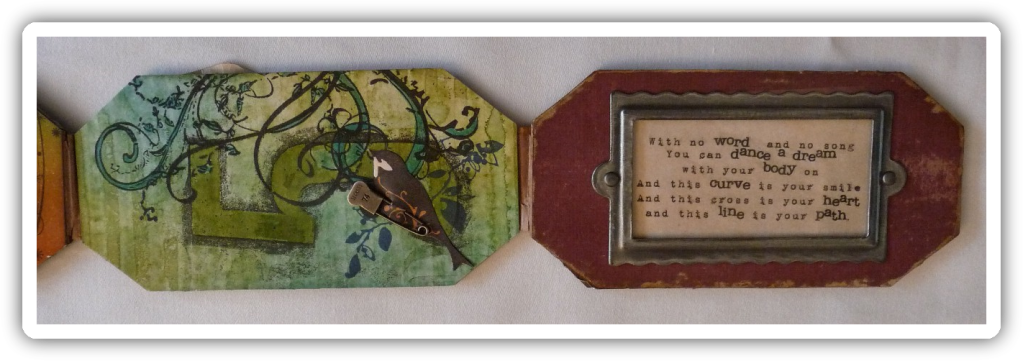
The book is loosely based around the idea of dreams, and the words used on the book cover come from the Kate Bush song "The Red Shoes" which was featured in her movie "The Line, The Cross and the Curve" and they say:

"With no words and no song,
you can dance a dream with your body on.
And this curve is your smile.
And this cross is your heart.
And this line is your path."

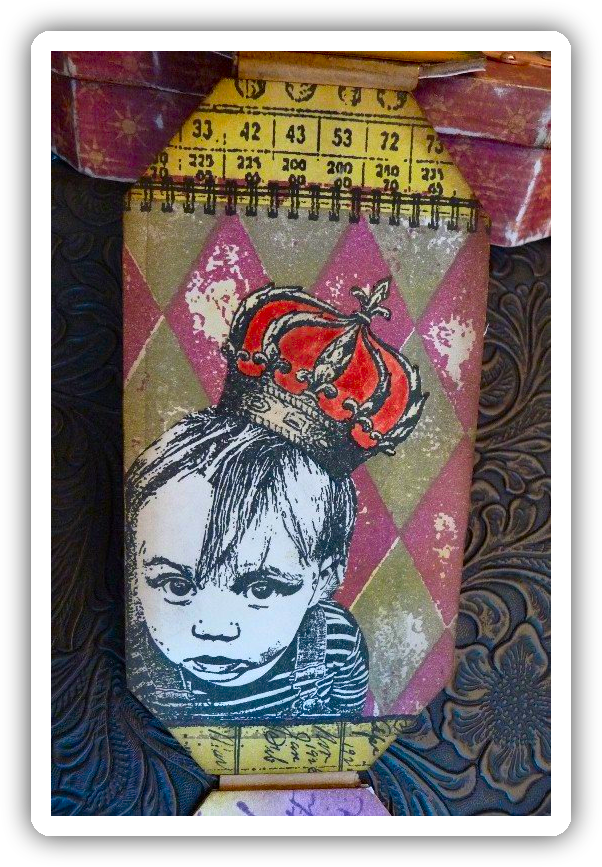
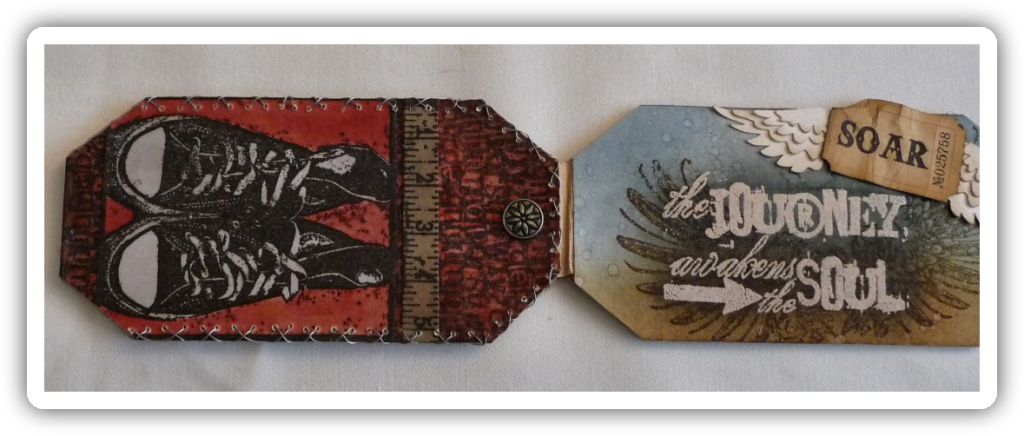
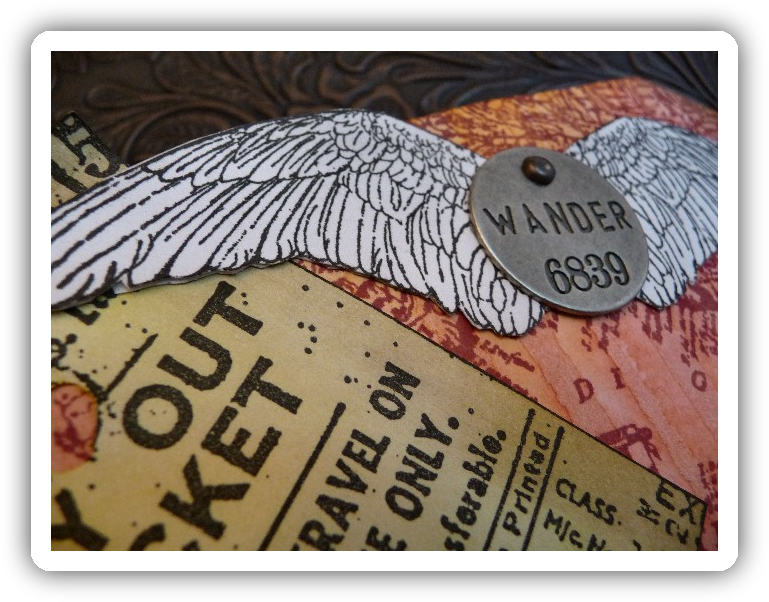
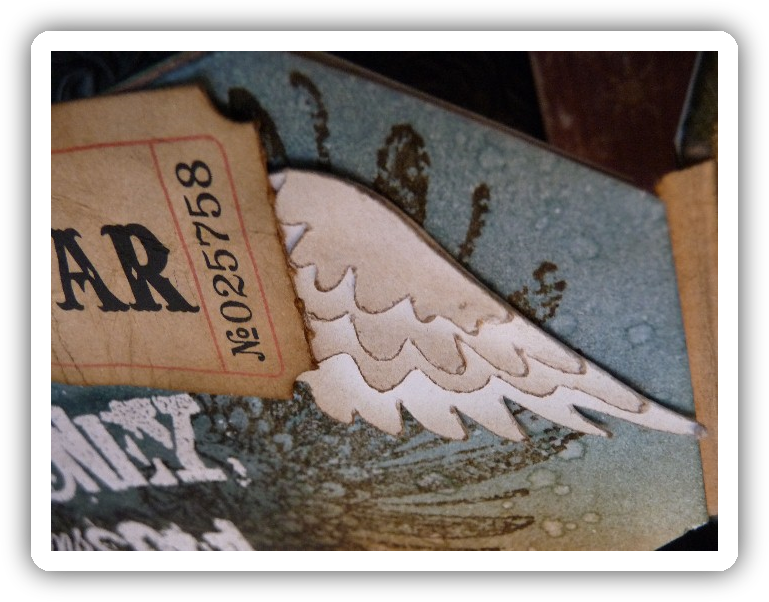
There are too many pages to write about each one individually, so I'm going to let the photos speak for themselves! Click on any image to see a more detailed view.


Moo Frame Gift

Not the greatest of photos, but hopefully clear enough for you to see what's going on here. I really must do something to try and improve my cameraphone skills!! LOL

I made this aaaaaaaaages ago as a Christmas present for a friend, but couldn't blog it in case they saw it, and then life got in the way and the photos have just been languishing on my computer, staring glumly at my mouse pointer as it kept passing them by! LOL

My previous framed moo projects used deep frames that I got from Tesco, but they stopped selling them and I had to start looking around for other frames to use. It's not easy to find frames with enough space behind the glass to add dimensional elements, but eventually Ikea stepped up to the plate with this square frame.

Using a different frame meant designing a different mount to fit it, which I duly did in Inkscape and cut with SCAL. This time I also cut a 1 inch border frame to go on top of the mount, which I think makes it look a little more "finished", don't you think?
Each individual panel was stamped, inked, embossed etc and then fixed to the back of the mount. The bird with the secret compartment where you can hide little embellishments was designed in Inkscape and cut on the Cricut, and then stamped and inked. Mort with his pin curl was placed behind glass in a copper memory frame and attached to one of Tim Holtz's keys, which had been rubbed with a little white acrylic paint on my finger to make the lettering pop.

Thanks for taking a look, I hope you like it! :) Click on any picture to enlarge it.

Saturday, 6 February 2010

Freebie #42!

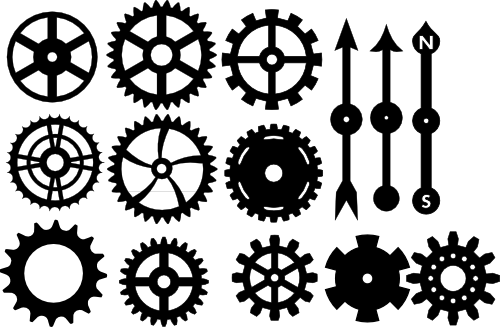
Top Gear(s)

[Edit - I've started to make my files available from my blog again and am adding a new set each week. Check out the "Cutting Files" tab at the top of the page to see which ones are available for download.]

I know it's only been a couple of days since my last freebie, but I want to get back to my regular schedule of posting the files at midnight on Fridays each week, so an extra set for today was called for to get back in sync!

I have to thank a nice lady called Diane for this idea. She emailed me asking if I had any SVGs of cogs for a project she had in mind - I didn't, but decided to go with the idea for this weeks freebie. I've got some fun ideas for further things I can add to this set too, so hopefully I'll get to work on those soon too!

Obviously great for guys/boys projects, be they cards or scrapbook pages. I think these would look really cool cut from acetate too, giving a nice bit of shine to a project :)

Please remember you are only allowed to download this file for your own use and may not distribute it to others in any form. I spend a great deal of time creating my designs, please respect the terms under which they are given.

Again, this template will be "live" for 1 week. Next week it will be taken down, and new ones will replace it. Don't forget, if you have any requests, pass them on! I can't promise, but I will take suggestions into account when planning future templates.

These files may not be uploaded to a group, forum or website for sale or redistribution, or shared among individuals. They are expressly for the personal use of each person that downloads them from this blog.

There are 4 files and I have put them into a zip file to make downloading easier. After saving it, open in the usual way, and drag the files out onto your desktop or wherever you wish to save them.

There are 2 versions of each template:
  • An SVG version which can be imported into the Sure Cuts a Lot or Make the Cut program and then cut out on your Cricut.
  • A DXF version which is Craft Robo friendly, and ready to be imported into your Robomaster software (I'm not a Robo user, so if there are any problems with this, please let me know!)
Simply click on the appropriate button below to download the file!

Any feedback on the templates is more than welcome, and if you have any suggestions for possible future templates you'd like to see, please let me know! If you make anything using one of the templates, please post a link to it here so that others can be inspired by how you've used them!

I hope you like the templates - let me know how you get on! :)

Templates © dan99crafter@gmail.com 2009

Friday, 5 February 2010

Autumn Concertina Tag Book

While I don't have access to my crafting stuff I thought I'd take this opportunity to show some things I've made in the past which predate this blog. Today we're going back over 3 years to September '06! This is the sample I made for a class I was teaching at the time, 4 autumn themed tags in a distressed concertina folder. I've just realised as I'm writing this that the piece predates my addiction to stamping - in fact at this point I didn't even own a stamp and most of my crafting was computer-based! Click on any image for a larger view.


The folder was made from a piece of moss green white-core cardstock with a brown check paper adhered to the back. After shaping and folding, the pockets were held in place with eyelets at each end. It was then sanded to distress it and the quotes were matted and fixed to the pocket fronts. The black plastic name plate on the front was coated with a tape runner and then gold metallic flakes were applied to gild it. It was then sanded to distress the edges and fixed in place with brads.

Tag 1 - The flourishes on the background paper were enhance with gold stickles and the burlap swatch was fixed in place with double sided tape then secured with two textured brads. The quote mat was edged with gold Krylon pen and the quote was fixed to the tag with d.s.t. Finally a brown circle was fixed to the tag and then set with a large eyelet and cord was added.


Tag 2 - Fairly simple this one. Basic Grey background paper, matted quote with inked edges and a spiral paper clip (gilded with Krylon).


Tag 3 - The green tortoise-shell effect was achieved by dabbing alcohol ink to a piece of clear acetate with a square of felt, waiting a second for it to dry, then repeating the process until the desired effect was achieved. The acetate was then cut to shape and turned into a sticker by running it through a Xyron sticker maker (the small X shaped Xyron machine). It was then affixed to the tag. The brad was white, coloured with alcohol inks to match the colour theme of the tag.


Tag 4 - The tag background paper was made on the computer using hundreds of leaf images then printed and fixed to the tag. The slidemount was covered in brown cardstock and a strip of brown check paper was fixed down one side. The leaf image was printed from the computer, aged with brown chalks and fixed in place. An eyelet was inserted in the corner of the slidemount and fibres tied through it.

Simple as that! I hope you enjoyed this little trip down memory lane with me, there will be another one soon! :)

Thursday, 4 February 2010

Freebie #41!

If you want to get ahead, get a hat!!

Edit - This great collection is no longer available here, and has now been enhanced with 5 extra designs! Email me for details on how to find it on my other site, or search google for "My Crafty Files"!

A fun collection this week - 3 quirky hats!

Place them over photos on a scrapbook page or on stamped images or as decoration a birthday card, the only limit is your imagination.

Please remember you are only allowed to download this file for your own use and may not distribute it to others in any form. I spend a great deal of time creating my designs, please respect the terms under which they are given.

Again, this template will be "live" for 1 week. Next week it will be taken down, and new ones will replace it. Don't forget, if you have any requests, pass them on! I can't promise, but I will take suggestions into account when planning future templates.

These files may not be uploaded to a group, forum or website for sale or redistribution, or shared among individuals. They are expressly for the personal use of each person that downloads them from this blog.

There are 3 files and I have put them into a zip file to make downloading easier. After saving it, open in the usual way, and drag the files out onto your desktop or wherever you wish to save them.

There are 2 versions of each template:
  • An SVG version which can be imported into the Sure Cuts a Lot program and then cut out on your Cricut.
  • A DXF version which is Craft Robo friendly, and ready to be imported into your Robomaster software (I'm not a Robo user, so if there are any problems with this, please let me know!)
Simply click on the appropriate button below to download the file!

Any feedback on the templates is more than welcome, and if you have any suggestions for possible future templates you'd like to see, please let me know! If you make anything using one of the templates, please post a link to it here so that others can be inspired by how you've used them!

I hope you like the templates - let me know how you get on! :)

Templates © dan99crafter@gmail.com 2009

Thursday, 28 January 2010

Freebie #40

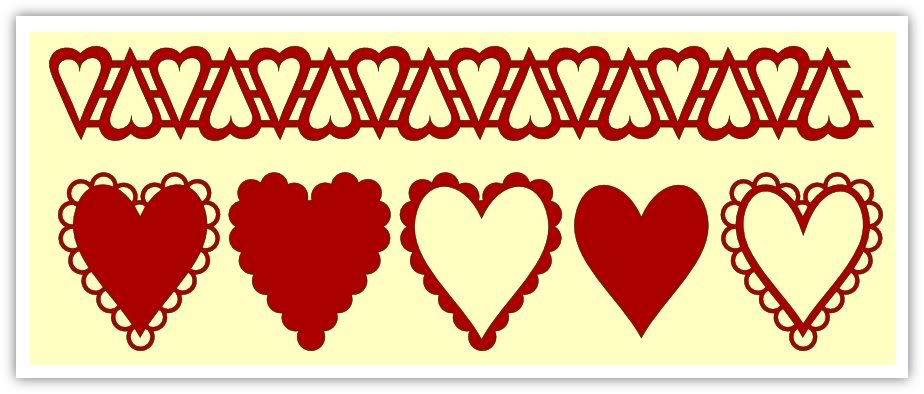
Have a heart!!

These files are no longer available from this site, email me for details on how to access them, or Google "My Crafty Files" to find them on my other site.

As many of you may know, circumstances mean that I'm unable to craft at the moment, but since I still have access to Inkscape I'm going to exercise my creative urges by creating files for the Cricut and Robo. :) Please bear in mind that I currently don't have access to my Cricut, so I haven't been able to cut these files myself. As far as I know they should cut perfectly, but please let me know how you get on with them!

Seeing as Valentine's Day is fast creeping up on us, I thought that many of you might be able to find a use for these shapes - there is a heart border and 5 variations on a scalloped heart.

This image was kindly sent to me by Lisa A, who cut out some of the files. As you can see, she did a great job!

Please remember
you are only allowed to download this file for your own use and may not distribute it to others in any form. I spend a great deal of time creating my designs, please respect the terms under which they are given.

Again, this template will be "live" for 1 week. Next week it will be taken down, and new ones will replace it. Don't forget, if you have any requests, pass them on! I can't promise, but I will take suggestions into account when planning future templates.

These files may not be uploaded to a group, forum or website for sale or redistribution, or shared among individuals. They are expressly for the personal use of each person that downloads them from this blog.

There are 6 files and I have put them into a zip file to make downloading easier. After saving it, open in the usual way, and drag the files out onto your desktop or wherever you wish to save them.

There are 2 versions of each template:
  • An SVG version which can be imported into the Sure Cuts a Lot program and then cut out on your Cricut.
  • A DXF version which is Craft Robo friendly, and ready to be imported into your Robomaster software (I'm not a Robo user, so if there are any problems with this, please let me know!)
Simply click on the appropriate button below to download the file!

Any feedback on the templates is more than welcome, and if you have any suggestions for possible future templates you'd like to see, please let me know! If you make anything using one of the templates, please post a link to it here so that others can be inspired by how you've used them!

I hope you like the templates - let me know how you get on! :)

Templates © dan99crafter@gmail.com 2009
Related Posts with Thumbnails