
The winner of yesterdays contest was....
Rockin Robin Caldwell!
Congratulations Robin, if you email me we can sort out your prize!
Thanks to everyone who took part, and for your kind comments!

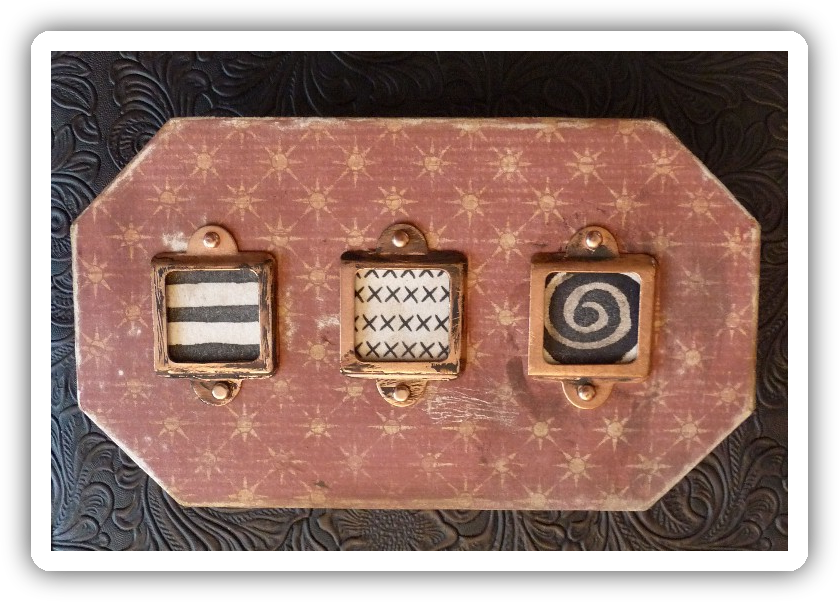 Today we are continuing our trip through past projects that I have never blogged. I'm so pleased to finally show this one here, as it's one of my favourites, and was a LOT of work! LOL
 The book is loosely based around the idea of dreams, and the words used on the book cover come from the Kate Bush song "The Red Shoes" which was featured in her movie "The Line, The Cross and the Curve" and they say: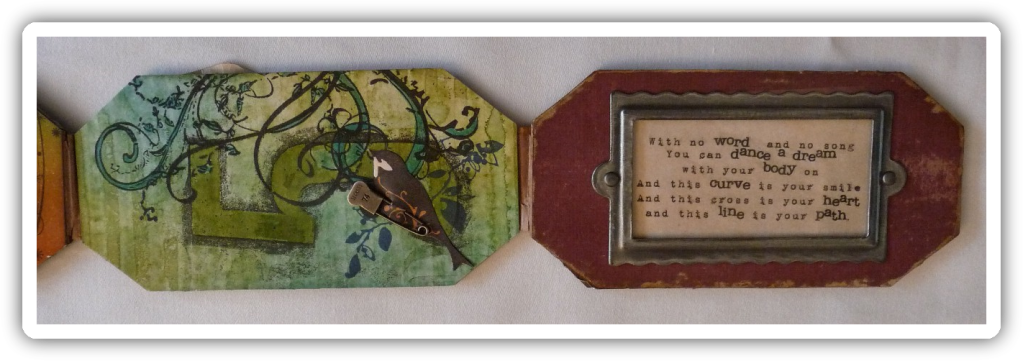
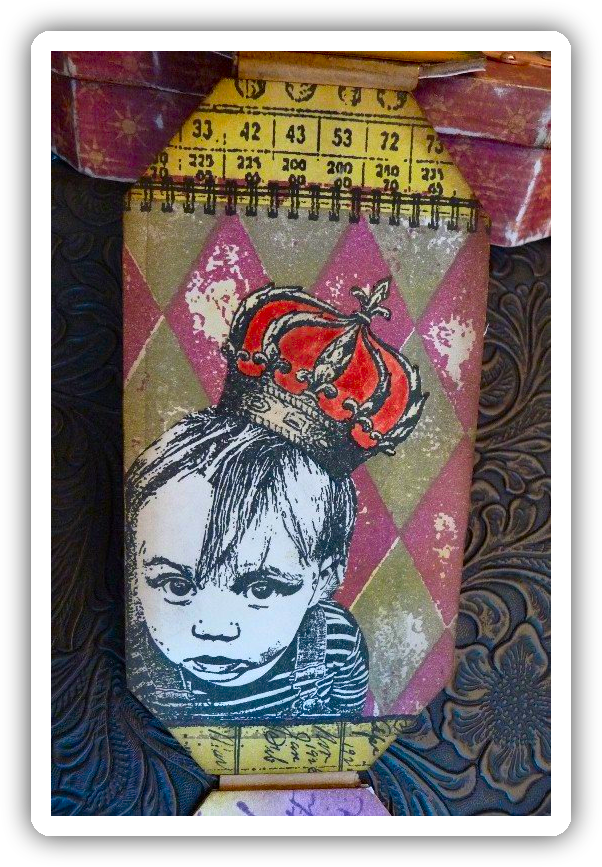
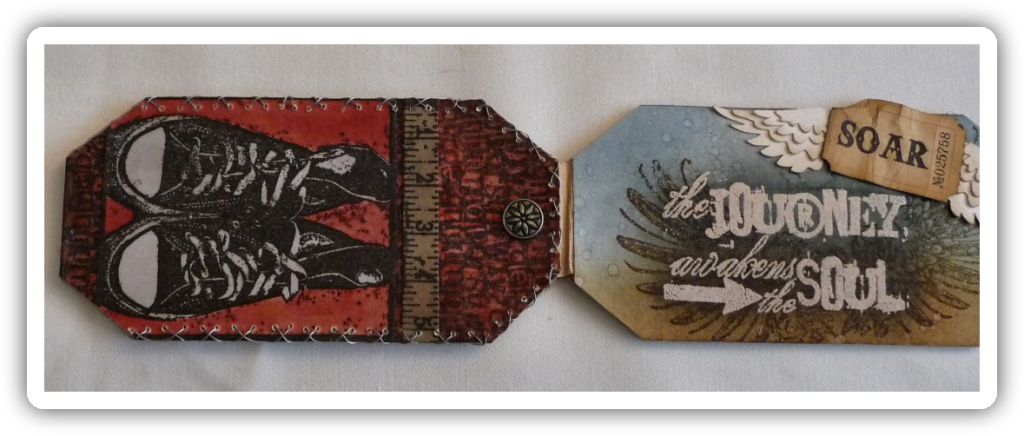

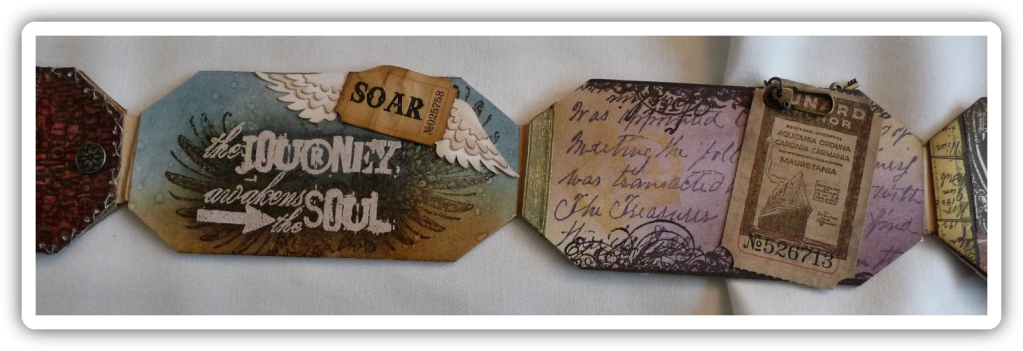
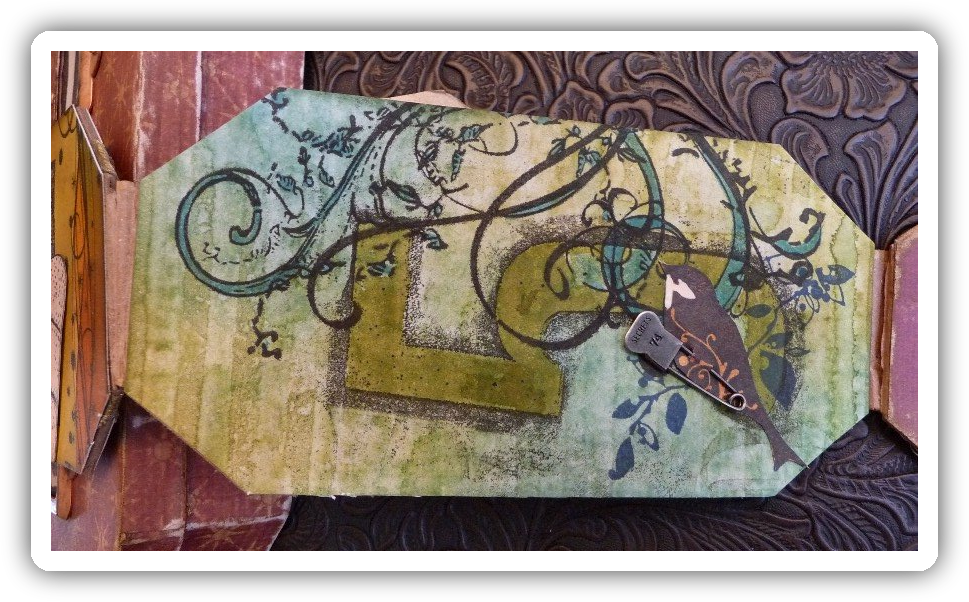
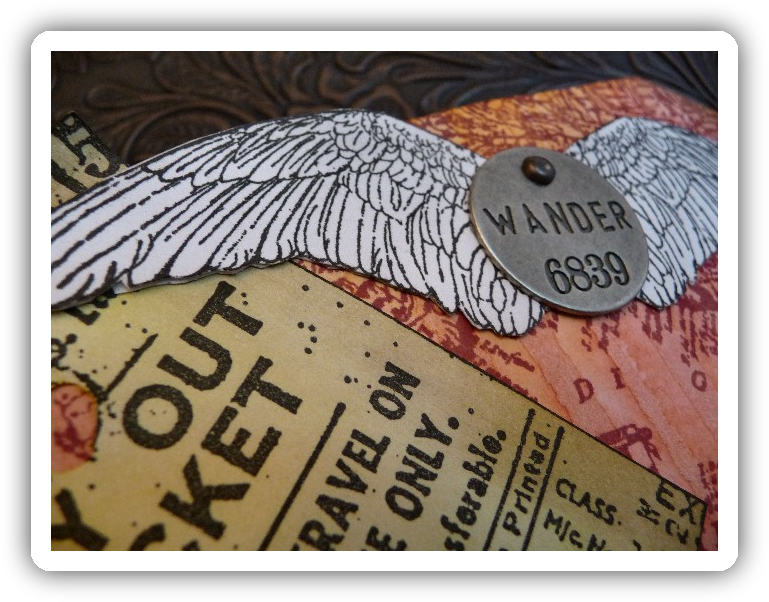
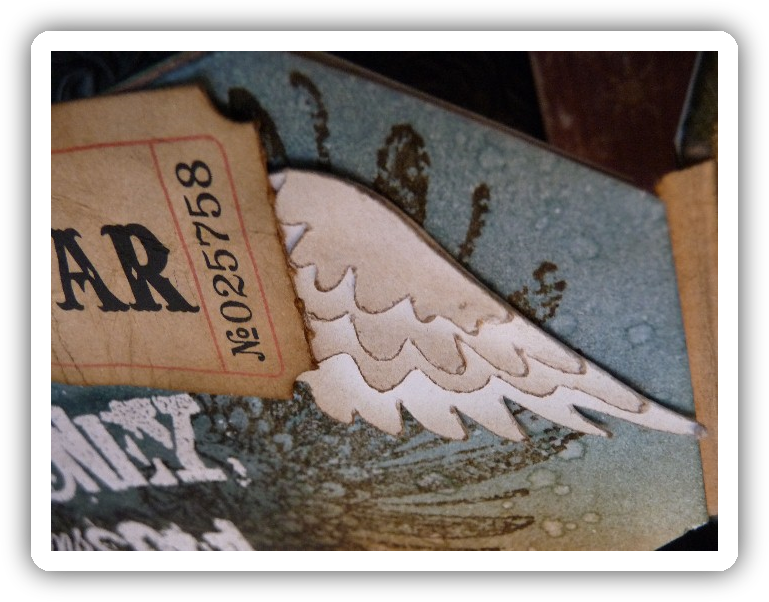
 Not the greatest of photos, but hopefully clear enough for you to see what's going on here. I really must do something to try and improve my cameraphone skills!! LOL
 Each individual panel was stamped, inked, embossed etc and then fixed to the back of the mount. The bird with the secret compartment where you can hide little embellishments was designed in Inkscape and cut on the Cricut, and then stamped and inked. Mort with his pin curl was placed behind glass in a copper memory frame and attached to one of Tim Holtz's keys, which had been rubbed with a little white acrylic paint on my finger to make the lettering pop.
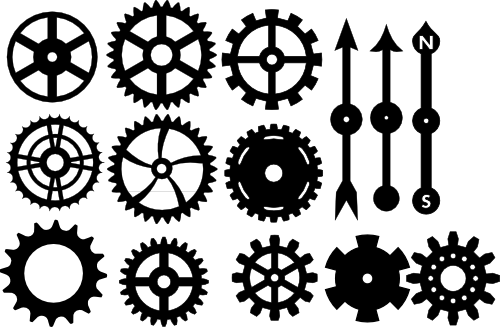 [Edit - I've started to make my files available from my blog again and am adding a new set each week. Check out the "Cutting Files" tab at the top of the page to see which ones are available for download.]
 While I don't have access to my crafting stuff I thought I'd take this opportunity to show some things I've made in the past which predate this blog. Today we're going back over 3 years to September '06! This is the sample I made for a class I was teaching at the time, 4 autumn themed tags in a distressed concertina folder. I've just realised as I'm writing this that the piece predates my addiction to stamping - in fact at this point I didn't even own a stamp and most of my crafting was computer-based! Click on any image for a larger view.


 Tag 1 - The flourishes on the background paper were enhance with gold stickles and the burlap swatch was fixed in place with double sided tape then secured with two textured brads. The quote mat was edged with gold Krylon pen and the quote was fixed to the tag with d.s.t. Finally a brown circle was fixed to the tag and then set with a large eyelet and cord was added.
 Tag 2 - Fairly simple this one. Basic Grey background paper, matted quote with inked edges and a spiral paper clip (gilded with Krylon).

 Edit - This great collection is no longer available here, and has now been enhanced with 5 extra designs! Email me for details on how to find it on my other site, or search google for "My Crafty Files"!
 A fun collection this week - 3 quirky hats!
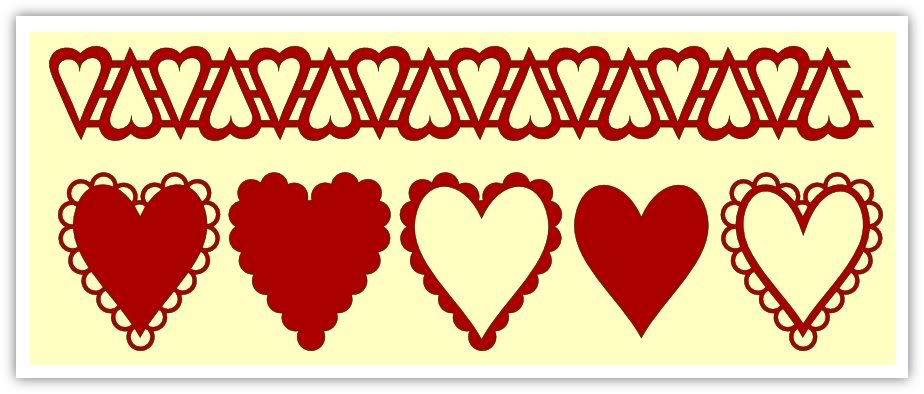 As many of you may know, circumstances mean that I'm unable to craft at the moment, but since I still have access to Inkscape I'm going to exercise my creative urges by creating files for the Cricut and Robo. :) Please bear in mind that I currently don't have access to my Cricut, so I haven't been able to cut these files myself. As far as I know they should cut perfectly, but please let me know how you get on with them!
 This image was kindly sent to me by Lisa A, who cut out some of the files. As you can see, she did a great job!
 Here's the last of the 3 tags I made on Tuesday. On this one, I rubbed Fired Brick, Mustard Seed and Brushed Corduroy ink pads onto a non-stick craft sheet and then spritzed it with water. I laid the tag down onto the inky mess and then picked it up and dried it. I repeated these steps twice more, to give the funky psychodelic background you see here.
 This tag uses some Wendy Vecchi stamps for the background, my first time using them. The stripes and mesh were stamped in Brushed Corduroy Distress Ink, and then areas were masked off into stripes and inked with Distress Pads and a foam applicator.
 I met up with a couple of crafty chums yesterday, for lunch and a little "play" time. They both had rather large projects to continue with, while I found myself messing around with a few tags.
