Wednesday 30 April 2008

Tag You're It! Challenge

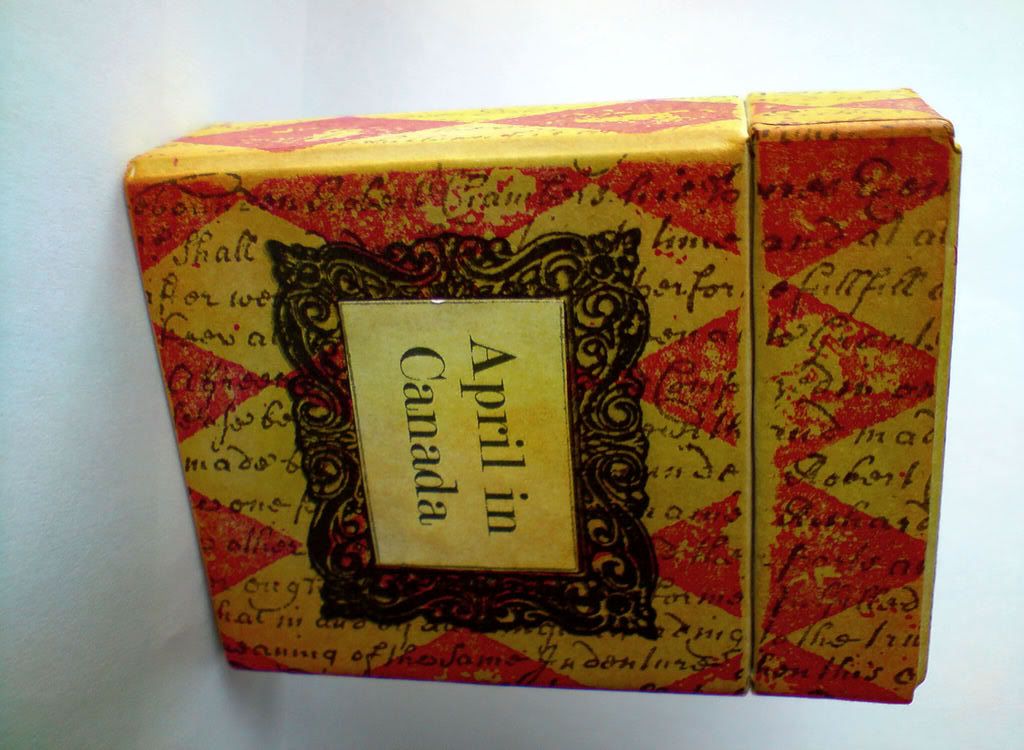
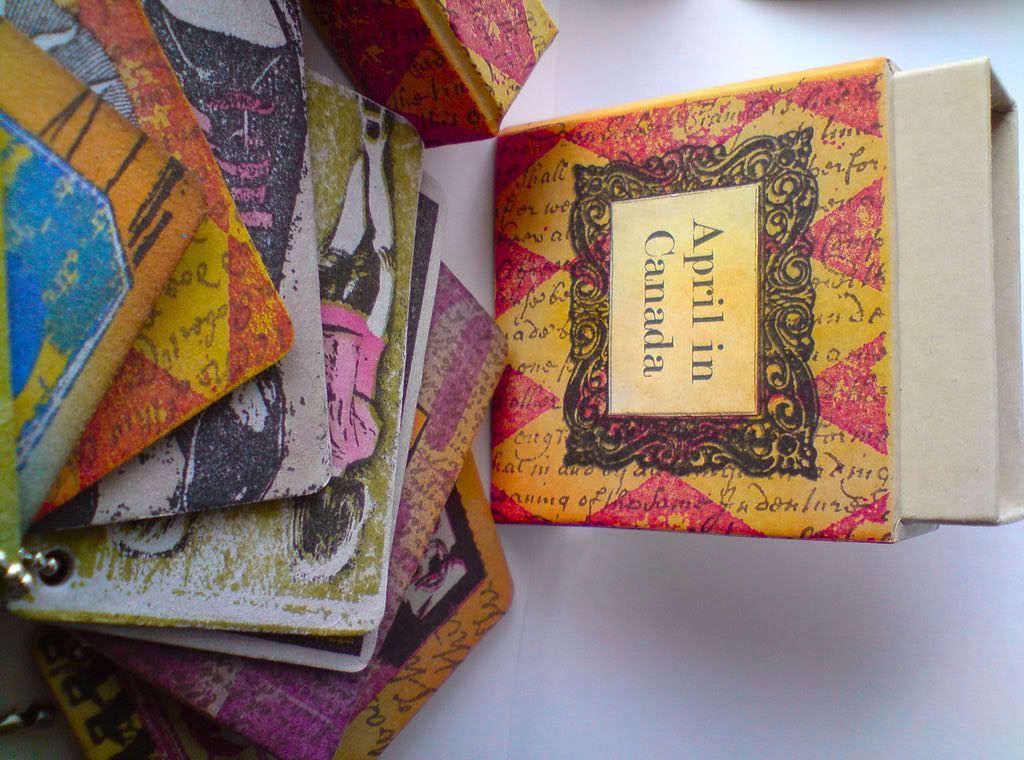
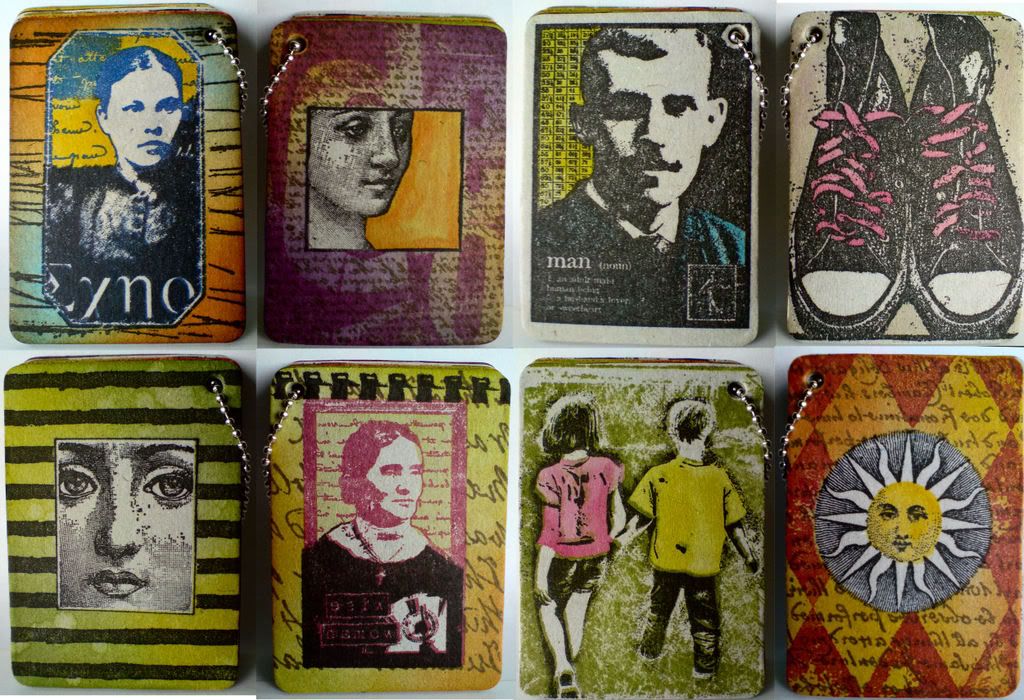
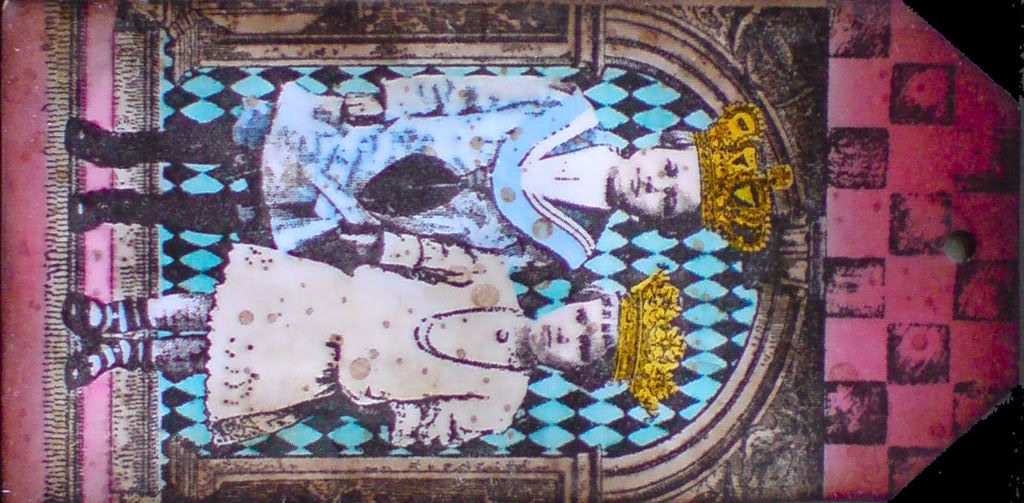
I've made this tag for the weekly Tag You're It! challenge. I'm happy to have found this site, I make a lot of tags and it's always good to have an excuse to make more! LOL

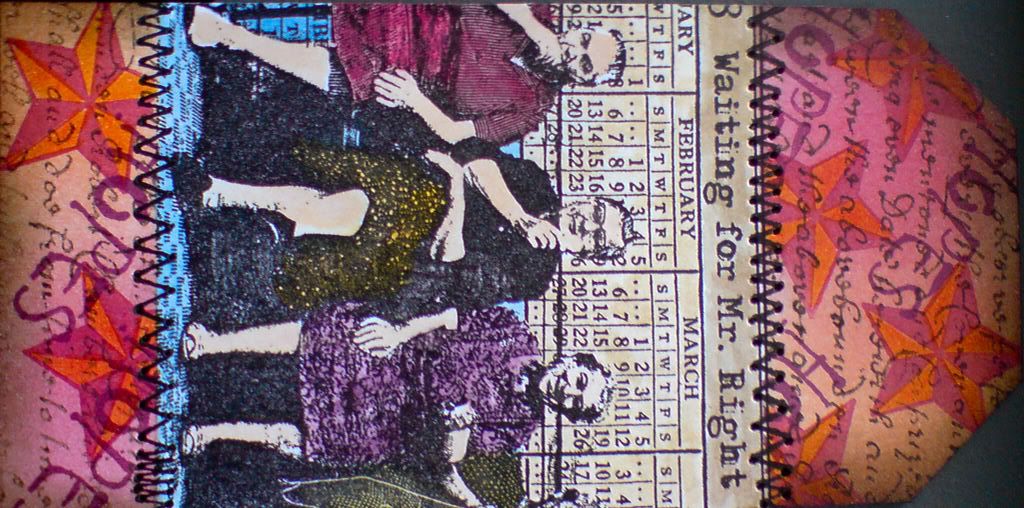
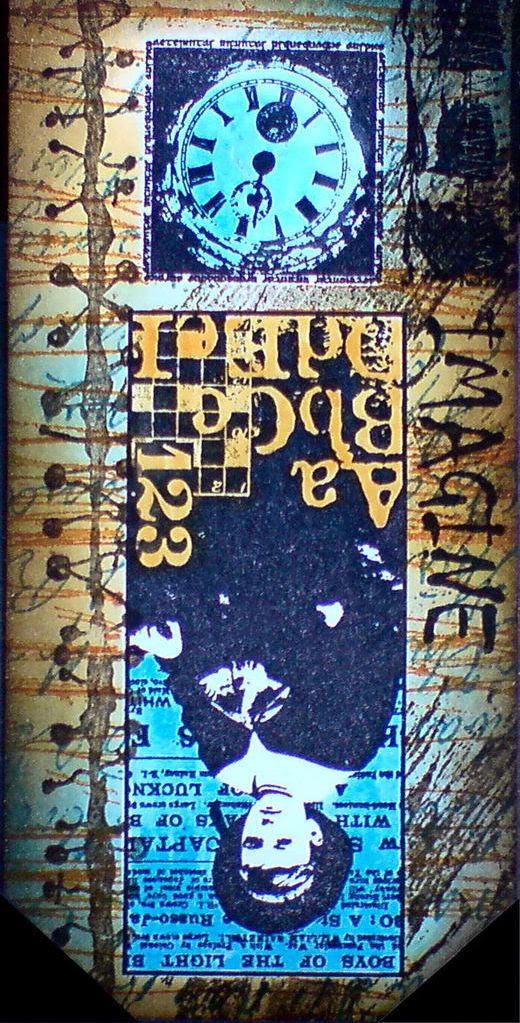
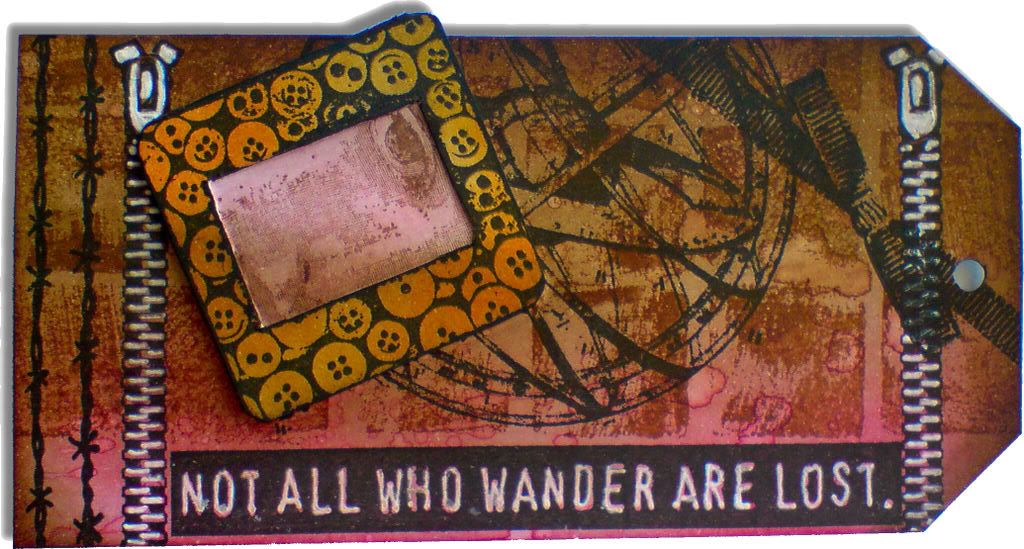
The theme this week was "slide mounts", and, sure enough, I've included one as part of this tag. I've gotten out of the habit recently of including detailed steps explaining exactly how my projects were made. Following a few requests, I'll try and be better about doing it in the future! With that in mind...

Steps to make this tag were:
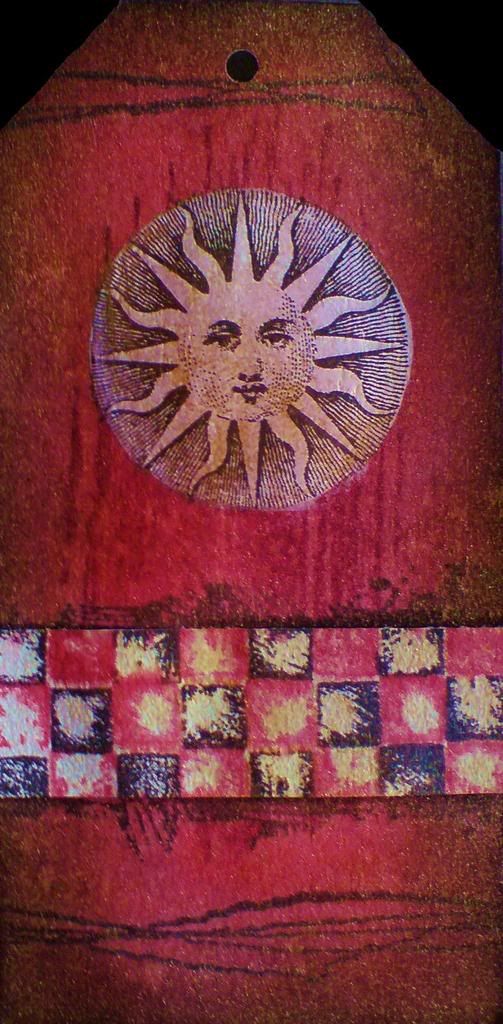
  1. Fired Brick and Brushed Corduroy distress inks blended across a 6x3 tag, using cut'n'dry foam.
  2. Water flicked onto tag and allowed to dry.
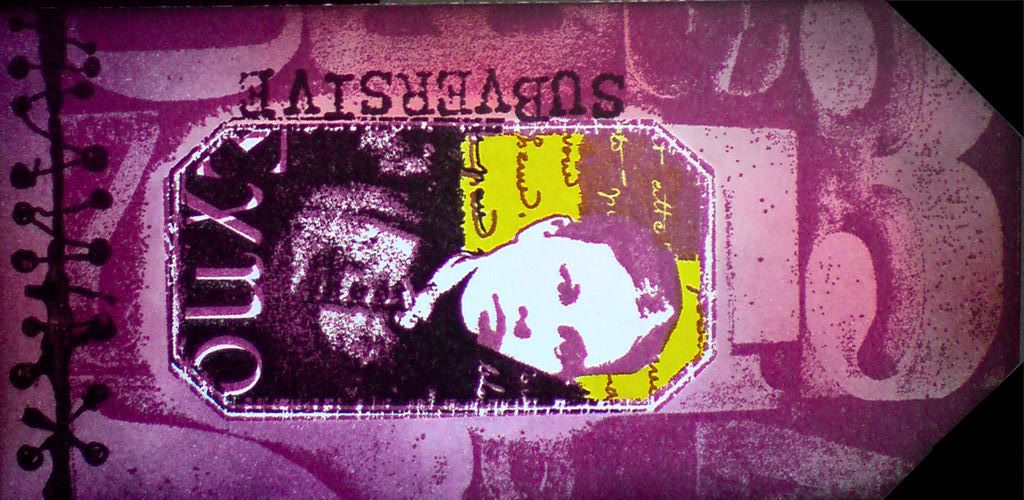
  3. Stamped distressed squares (Green Pepper Press), zipper and barbed wire (Just for Fun), Not all who wander... and globe (Stampers Anonymous) and ribbon (clear stamp, I forget who made it!).
  4. Zipper and Not all who wander... were highlighted with a Signo white pen.
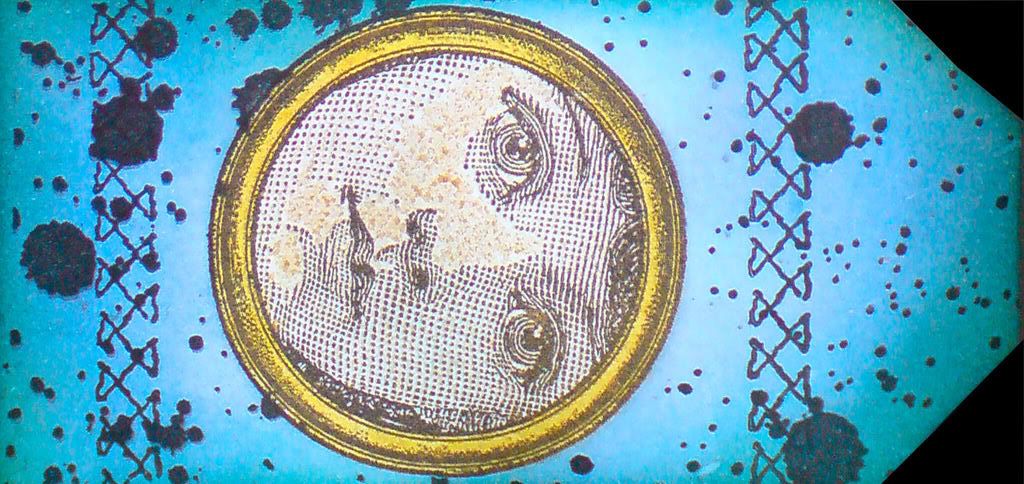
  5. Stamped a slide mount with buttons (Elements) and coloured image with Spiced Marmalade and Mustard Seed distress inks.
  6. Coloured a square of card with Fired Brick distress ink and stamped the face onto it with Walnut Stain distress ink.
  7. Mounted face in slide mount and fixed it to the tag.
I hope you like it, click on the image to see it larger :o)

Monday 28 April 2008

Maya Road boxed ATC cards and new look for my blog!


I picked up a couple of these chipboard boxes from Maya Road a little while back. Each one contains 8 chipboard ATCs joined by a chain, and are all ready to be attacked with inks/stamps/paints, you name it!

I thought I might have to cover them in white paper first, but they take ink really well, and the colours don't suffer too much from the grey/brown background. Hopefully will pick up a couple more in the next few days, as I think they make great gifts once they're decorated! Oh, and this is called April in Canada cos I made it in Canada, in April. But you knew that all the time, didn't ya? :)

I hope you like, click on any image to enlarge it :o)

Regular readers will notice that I decided it was time for a face-lift of my blog. Let me know what you think, after all, it's YOU that reads it! :o)

I've been tagged!

Thanks to Mezza, I now have to tag 5 other people, and list 7 things you may not know about me. Poor you! LOL

1. I am very left-handed, to the extent that I avoid writing wherever possible, unless it's with a keyboard.

2. Any words you see on my work that I have stamped myself, letter-by-letter, have all been written either backwards or upside-down.

3. My great or great-great aunt (not sure how many greats there should be!) was Fay Wray, the woman screaming in King Kong's hand in the original movie.

4. I used to be a sign language interpreter.

5. I hate strawberry flavoured things.

6. I would win the pepsi taste test hands down every time. I looooooooooove pepsi max, not keen on coke, and only drink it if that's all there is.

7. I have never tried scrapbooking, and probably never will (I'm from a family that just never took many photos, and I'm the same!).

There ya go, and now I have to tag 5 people myself. They are

Andrea
Hels
LindaE
Shazza
and Lesley

Phew, glad that's out of the way! :o)

Sunday 27 April 2008

Waiting for Mr Right, among other things


A couple more tags that I've made today. Just two, as I went out for Sunday brunch!

The first is for the Sunday Stamper's weekly challenge, this weeks theme being "words". Ok, I'll admit it's not the wordiest tag you've ever seen, but there are words on it, and so it counts as far as I'm concerned! :o) Actually, there's a funny story surrounding the main stamped image on this tag. I was at a friends house, and she was showing me some new stamps she'd bought from Lost Coast Designs. Upon looking more closely at this one, I'm convinced that these are not women, they are actually men in drag, which I thought was hilarious, so, of course, I had to have the stamp myself! Click on the tag to enlarge it and see if you agree!

Both tags use stitches stamps from Autumn Leaves. I've actually pricked the tag at each "thread hole" to make it feel more realistically stitched. You probably can't see it on here, but I can see it in real life, and that's all that matters :o)\

I hope you like em, click on either tag to enlarge it :o)

Friday 25 April 2008

Time for a challenge

3 more tags today, one of which is for the My Time to Craft Challenge, the theme this week was Tutti Frutti. No prizes for guessing which tag was for the challenge! :)


Click on a tag to see a larger view, I hope you like em! :)

Old stamps with new twists


I thought I'd take some old stamps that I've used several times before and combine them with some new stamps and new colours, to see if I could wring yet more life out of them! We all know that stamps aren't cheap, and I'm all for getting as much use out of mine as I can!

In each case the central image was stamped first, in Versafine ink, and then masked while I worked on the rest of the tag. Parts of each image were painted with distress ink pads and a waterbrush.

Click on any image to enlarge it, I hope you like em! :)

Wednesday 23 April 2008

Sunny(ish) Colours Tags


I decided to make some tags with some sunshine-y colours. Of course, typical of me, they ended up looking pretty grubby, but it's the thought that counts! :)

The second tag uses 2 of Tim Holtz's new ATC sized collage stamps, one stamped over the other. I think on reflection it was a mistake to use my new Ancient Page grey inkpad for the top layer, it just looks a bit washed out. Something darker would have worked much better. Still, we live and learn! :o)

I hope you like em, click on any tag for a bigger view.

Friday 18 April 2008

Waxing further...


Here are 3 more tags (I guess I'm in a taggy mood!) These feature one (or more) of the following: Melted beeswax, gold glimmer mist spray, BasicGrey Flourish stamps, Autumn Leaves stitches stamps, Lost Coast design stamps. I hope you like em!

Monday 14 April 2008

Just a bit of messing about...

I decided to have a play today, with some stamps I haven't had much of a chance to use so far, and with some techniques I don't use much or haven't tried before.

This first tag makes use of some stamps from Green Pepper Press that a friend got me for Christmas, and some stitch stamps from Autumn Leaves, neither of which I have had much of a play with. The tag was coloured with distress ink pads, then the sun was stamped using the painted mask technique I have mentioned in previous posts. I recently bought a bottle of gold Glimmer Mist spray, so spritzed the whole thing with that (to within an inch of it's life, to be honest!).

This next tag looks a bit washed out, but that's partly my poor photography I'm afraid! I'd always wanted to try a technique I once saw in a Tim Holtz video, where he melted beeswax in a melt pot and painted it onto his card project. I don't have a melt pot, but thought one of those oil burner thingies would do the job just right, and it did! Put the beeswax in the top, light the tealight, and Bob's your uncle! If you don't know what I'm talking about, I mean one of these:


I hope you like the tags! :o) Click on an image to enlarge it.

Sunday 6 April 2008

New life for an old Cricut!

I bought a Cricut last year while on holiday in Canada (one of the old Cricuts, not an Expression), and to be honest, I haven't used it much. They were on sale in Michaels, so I got it for the equivalent of £85 UK, but even so, I haven't had value out of it as I have hardly touched it. After buying 3 cartridges for it (of designs I still like, but have never used) I decided that perhaps the cricut is just not for me.

Then, a few days ago, I heard of a piece of software called "Sure Cuts a Lot" which allows the cricut to be used like a Craft Robo, ie it will plug into my pc and cut any font or shape from the hundreds I have.

Shown here is a christmas design that I downloaded from the internet, and some address book dividers. I've been thinking of making an address book with my Bind It All as a gift for a friend, and I actually designed and created these dividers myself on the PC, then cut them with the Cricut. I can't overstate my excitement with this program - now the things that I cut won't be limited by what's available or by my budget!!

Tagstravaganza - Day 3


The tag at the top of these pictures, with red on one side and yellow on the other, is tiny, perhaps only an inch wide, so don't be fooled by the fact that they all look the same size here!

More chipboard tags, and finally a chance to use a couple of stamps designed by my friend Linda Luckin, the fish and the seahorse. The fishes (fishum? fishi? oh, just "fish") were stamped with StazOn ink onto acetate, and then I applied gold metal leaf to the back of each one (and we all know, don't we children, how badly gold shows up on a scanner?).

The butterfly is only fixed to the tag in the body area, the wings can be tilted up to add a dimensional element to it. It was produced on glossy card with alcohol inks, then stamped and cut out.

The "Gibson Girl" was stamped onto the white tag and painted with distress inks and an ArtKure water brush. She was then stamped again onto a post-it note and cut out. The post-it image was then placed over the tag image and the background was applied with cut'n'dry foam.

I hope you like 'em. Click on any image to enlarge it. :o)

A Fairy, by any other name....

.... still looks just as naff!

I have created this using the wonderful fairy stamp I won in the pass the parcel competition at Lesley and Linda's birthday party last week. It looks simple I know, to the casual glance, but those of you who are keen crafters will see the great amount of work I put into it!

The background is taken from a Butcher's Block pad. The original paper was larger than the size I wanted, so I actually had to cut it down to size myself. I stamped the fairy in the centre of the page and sprinkled gold embossing powder. I then heated it with a heat gun. This melted the powder and made it go all shiny. Finally, I cut the peel off borders to size so that they would exactly fit, then stuck them onto the page, taking care to see that they were evenly spaced.

Hang on, what's that? April the what? That'll teach me to look at my calendar more frequently, I'm 6 days late! :o)

Saturday 5 April 2008

Stamped Chipboard Flowers


These flowers are part of the new chipboard range by the Artistic Stamper. They're white on one side and grey on the other. The white sides were inked and stamped, and the grey sides were painted with acrylic dabbers and stamped.

I didn't spend too much time on them, because there is such a small amount of petal space available for stamping, that there was no point in doing anything too complicated, it just wouldn't be seen. The brown one is stamped and embossed in gold, which, as always, doesn't show up too well when scanned!

I hope you like them, click on an image to enlarge it. :o)

Friday 4 April 2008

Tagstravaganza - Day 2

Another day, another tag!

Nothing fancy to say about this one that you haven't already read in yesterdays post, dear reader. Another of the Artistic Stamper's chipboard tags, decorated with their stamps and using the painted mask and batik techniques.

I hope you like it, click on any image to enlarge it :o)

Thursday 3 April 2008

Tagstravaganza - Day 1 - The Painted Mask Technique


This is my first blog post in AGES so I'll dive straight in. I've been busy working with some of the new chipboard shapes from Artistic Stamper. On this large sized tag, I thought I'd have a go with a new technique I've dreamed up for colouring stamped images (at least it's new to me, if someone has claimed this before, I apologise!) I've called it the painted mask technique, and it's been used here on the pocket watches and the gothic arch. Basically it involved stamping your image, then painting it with acrylic paint (either white as I have done here, or in whatever colours suit your image). After painting, you stamp again in the same place, giving a masked effect but with coloured areas that match the stamp exactly (depending on how accurate you are with your stamp position).

The red side - text was stamped and embossed with clear powder. Tag then was coloured with fired brick and aged mahogany distress inks applied with cut'n'dry foam. Brown paper was placed over the tag and it was ironed with a hot dry iron to remove the embossing powder (Tim Holtz's batik technique). Text was stamped again with brushed corduroy distress ink. Arch was stamped with black versafine and dried with heat gun. It was then overpainted with white acrylic paint, dried and restamped. Finally the word Architecture was stamped with black versafine. I added two of natures "free" stamps (the most personal and individual of all!) and I was done.

Mustard side - painted with butterscotch acrylic dabber and edges distressed with brushed cordury pad (doesn't show up well in this scan). Watches and keys stamped with black versafine. Watch over-painted with white acrylic paint then restamped.

I hope you like them! Click on any image to enlarge it.
Related Posts with Thumbnails