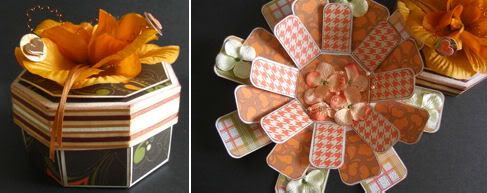
Notecard and Envelopes Case
Edit: These files are no longer available from this site. Email me for details of how to access past files!
I'm scratching my head trying to think of something to say about this one! Um... I designed it and cut it and assembled it and am happy with it - I guess there's not much more to say other than that it would make a great gift!! LOL
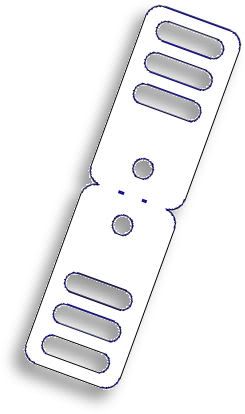
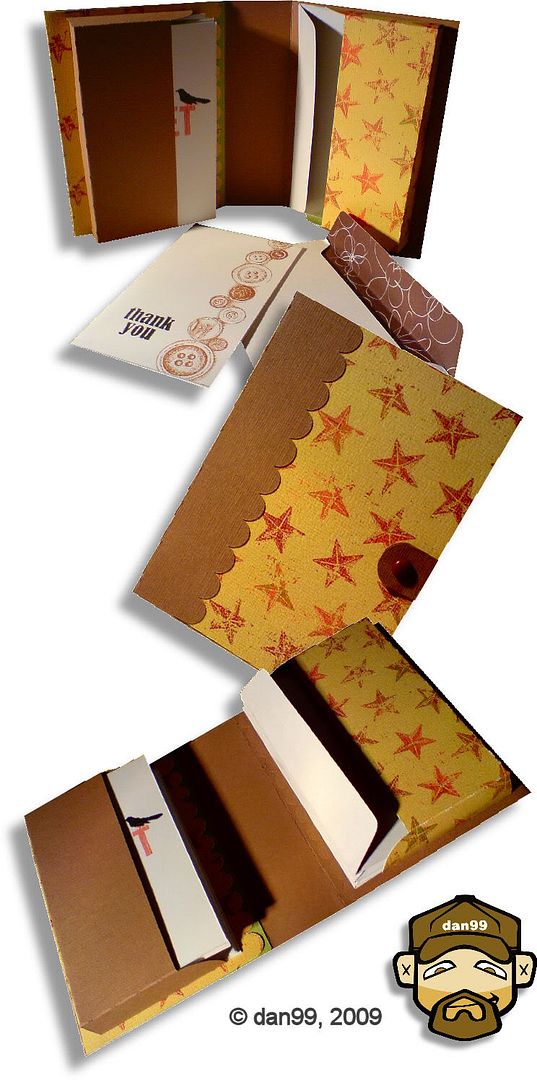
I used sticky velcro dots on the closure for my set, but you could omit the strap if you wanted and use ribbon to fasten it closed. I cut this to fit 5x3 inch notecards and envelopes, and at that size it will cut on the original Cricut and the Cricut Create. Obviously, if you have a Cricut Expression or a Craft Robo, you will be able to cut it at a larger size!
To fit 5x3 inch cards, I used these sizes:
- side 1 - 5.5 x 10.64 inches
- side 2 - 5.5 x 7.9 inches
- strap - 4 x 1.5 inches
- card pocket - 8.05 x 4.25 inches
- envelope pocket - 8.30 x 4.5 inches (this is 1/4 inch bigger in both dimensions than the card pocket - you'll have to see how much bigger your envelopes are than your cards and change this if needed)
If you make one of these, please post a link to it, I *love* to see what folks do with my files!!
Again, this template will be "live" for 1 week. Next week, it will be taken down, and new ones will replace it. Don't forget, if you have any requests, pass them on! I can't promise, but I will take suggestions into account when planning future templates.
These files may not be uploaded to a group, forum or website for sale or redistribution, or shared among individuals. They are expressly for the personal use of each person that downloads them from this blog.There are 2 versions of each template:
- An SVG version which can be imported into the Sure Cuts a Lot program and then cut out on your Cricut.
- A DXF version which is Craft Robo friendly, and ready to be imported into your Robomaster software (I'm not a Robo user, so if there are any problems with this, please let me know!)
- I have NOT created a print and cut version for this, as explained earlier
Simply right click on the appropriate button below, and choose "save link..." or "save target..." and save your template!
Any feedback on the templates is more than welcome, and if you have any suggestions for possible future templates you'd like to see, please let me know!
If you make anything using one of the templates, please post a link to it here so that others can be inspired by how you've used them!I hope you like the templates - let me know how you get on! :)
Templates © dan99crafter@gmail.com 2009

 I can't take the credit for this idea, someone emailed me a couple of weeks ago suggesting it as a future freebie. Try as I might, I can't find the email anywhere, so humble apologies to the person concerned!
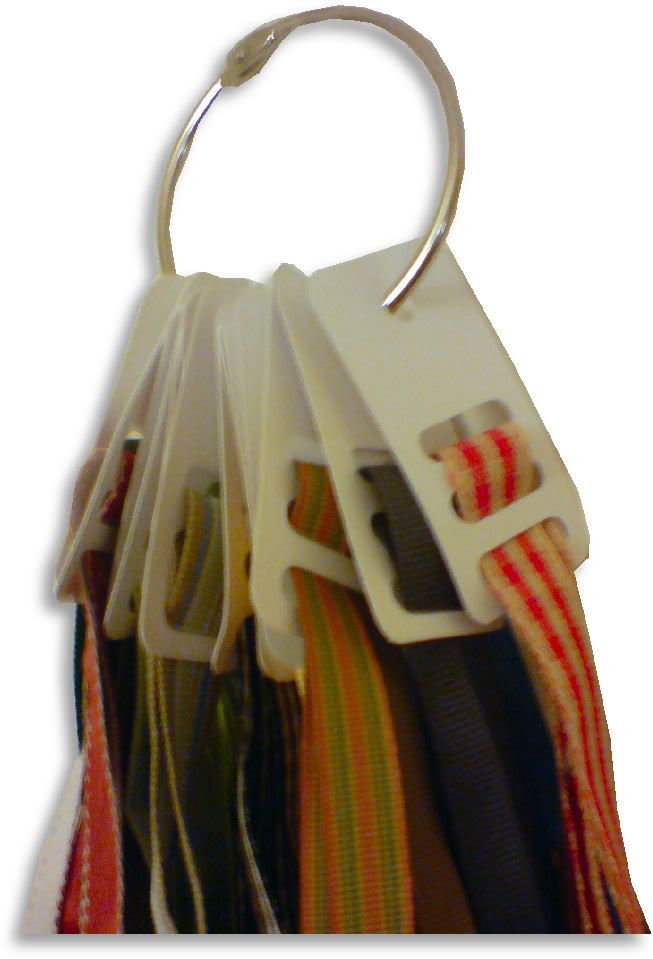
 I've been a bit pressed for time today so didn't really have time to decorate these properly, but the important thing is that I've cut them and tested to make sure everything is ok. Hopefully you can see from the picture that that is the case!