[I've started to make my files available from my blog again and am adding a new set each week. Check out the "Cutting Files" tab at the top of the page to see which ones are available for download.]
Many of you will be familiar with these grungepaper flowers by now, they're all over the internet. I thought it was time for a cutting file that was custom designed rather than using a regular flower shape and then hand cutting it to get it right. I designed these files to elimate all the cutting, not just cutting out the flower shapes, but removing petal segments and cutting a hole in the centre once they've been glued in shape. You can, of course, cut these from regular cardstock, but if you can get hold of some grungepaper, please try it, the end result is SO MUCH better!

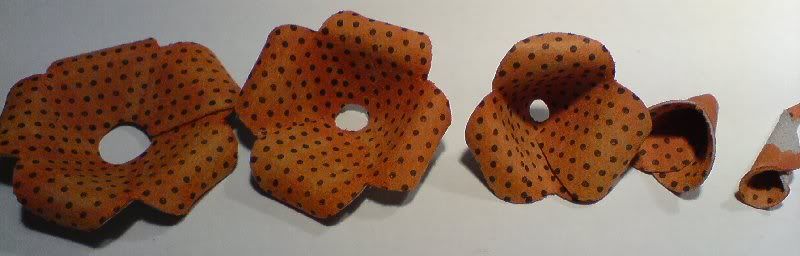
This is what the pieces look like after they've been cut on the Cricut.

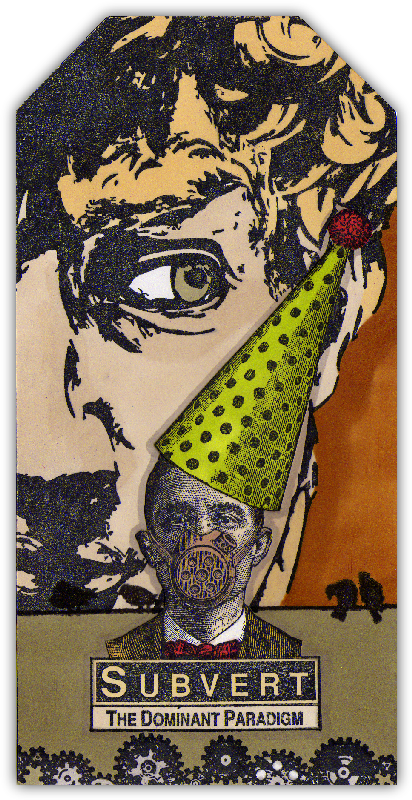
I've coloured the pieces with promarkers and stamped a dotted design over the top. You could use paints, inks or even glue patterned paper to the grungepaper pieces.
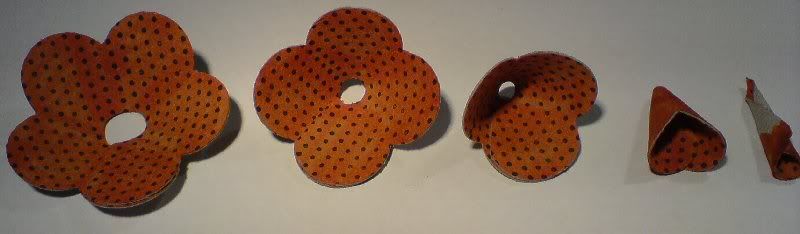
On the 3 largest pieces, overlap the end petals and glue into place with glossy accents or some other strong adhesive (I've used my ATG gun here, which is ok as long as you don't get it everywhere). Roll up the smallest piece and glue. Form the remaining piece into a cone, overlapping the edges slightly and glue in place.
Curl the petals on all pieces and then assemble, glueing each piece into place. If you find the hole in the centre of a piece is too small, just snip it larger with scissors.
Let me know how you get on, I'd love to see your completed roses!!
Please remember you are only allowed to download this file for your own use and may not distribute it to others in any form. I spend a great deal of time creating my designs, please respect the terms under which they are given.
Again, this template will be "live" for 1 week. Next week it will be taken down, and new ones will replace it. Don't forget, if you have any requests, pass them on! I can't promise, but I will take suggestions into account when planning future templates.
These files may not be uploaded to a group, forum or website for sale or redistribution, or shared among individuals. They are expressly for the personal use of each person that downloads them from this blog.
There is only 1 file but I have put it into a zip file to make downloading easier. After saving it, open in the usual way, and drag the file out onto your desktop or wherever you wish to save it.
There are 2 versions of each template:
- An SVG version which can be imported into the Sure Cuts a Lot or Make the Cut program and then cut out on your Cricut.
- A DXF version which is Craft Robo friendly, and ready to be imported into your Robomaster software (I'm not a Robo user, so if there are any problems with this, please let me know!)
Simply click on the appropriate button below to download the file!
Any feedback on the templates is more than welcome, and if you have any suggestions for possible future templates you'd like to see, please let me know!
If you make anything using one of the templates, please post a link to it here so that others can be inspired by how you've used them!
I hope you like the templates - let me know how you get on! :)
Templates © dan99crafter@gmail.com 2009


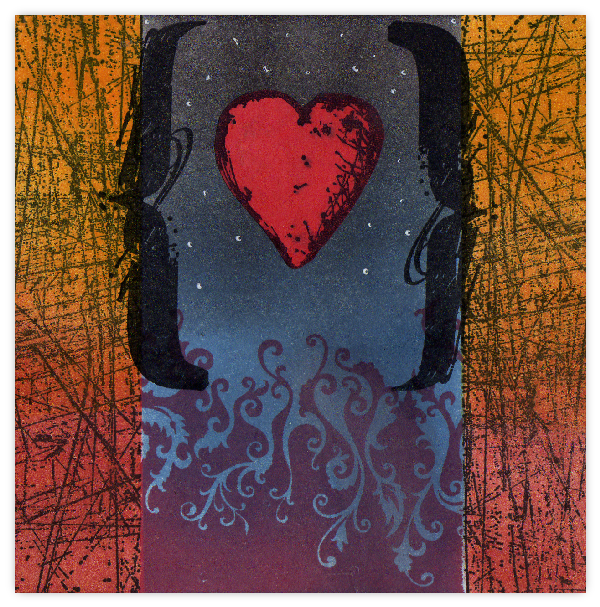
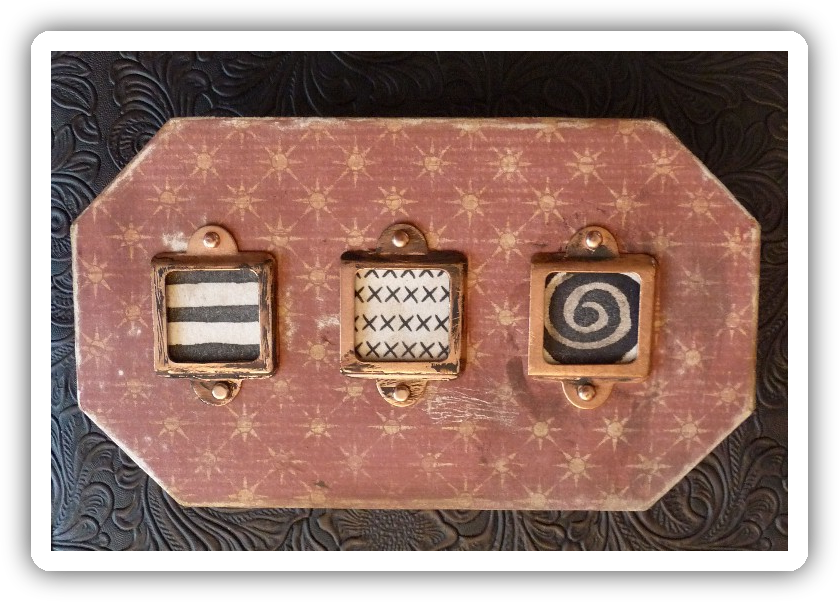
 I've been wanting to use one of these 3x3 shadow boxes for a while, so I took advantage of today's Sunday Stamper clown theme to use one. I apologise for the photo, I think I had the camera on a bit of an angle - the frame really was square! Don't even get me started on the dotty shadow around the edge, that wasn't intended either, LOL