Thursday 29 October 2009

Metal Gift Box

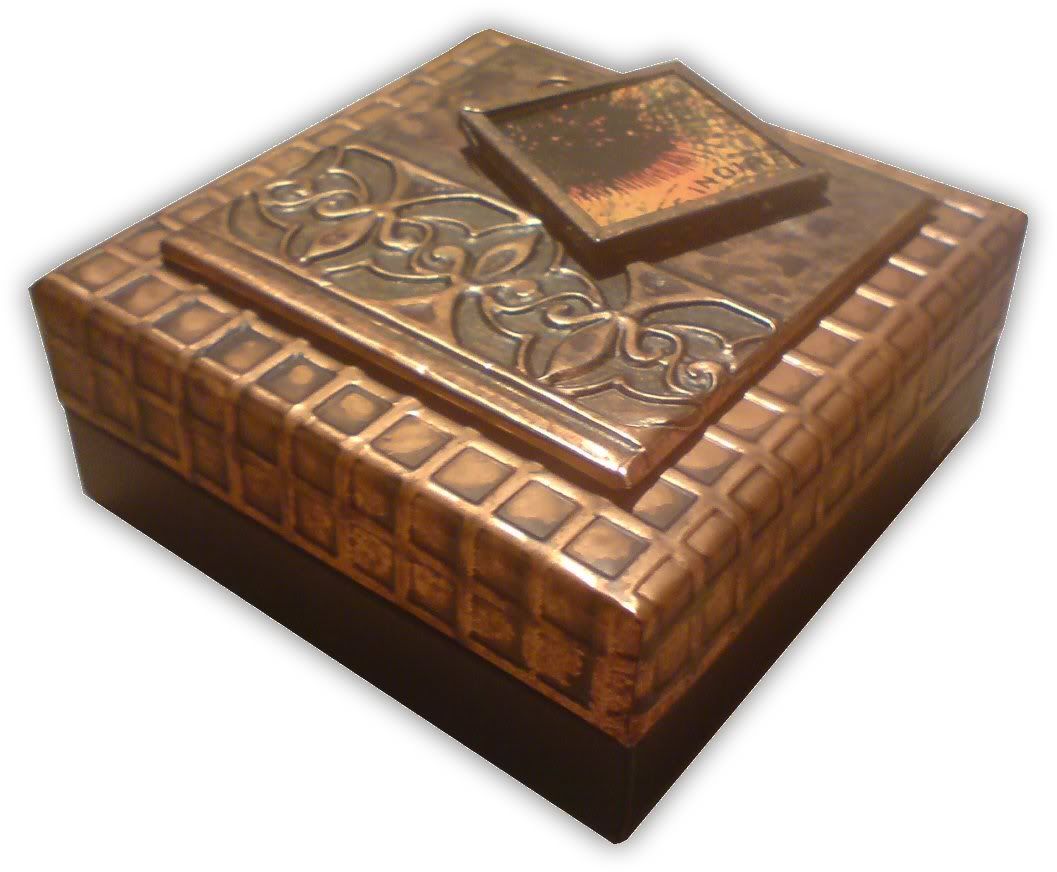
Another recycled item, this time a gift box made from 2 bases from Tria pen boxes. You can see what the bases look like below. I removed the inner lip from one of them, and it became the lid, fitting perfectly onto the other base!

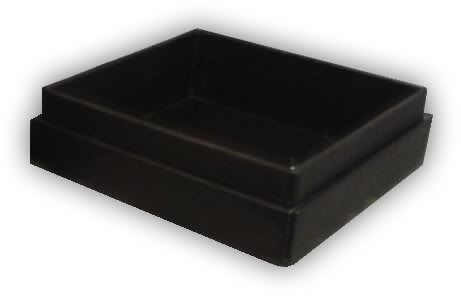
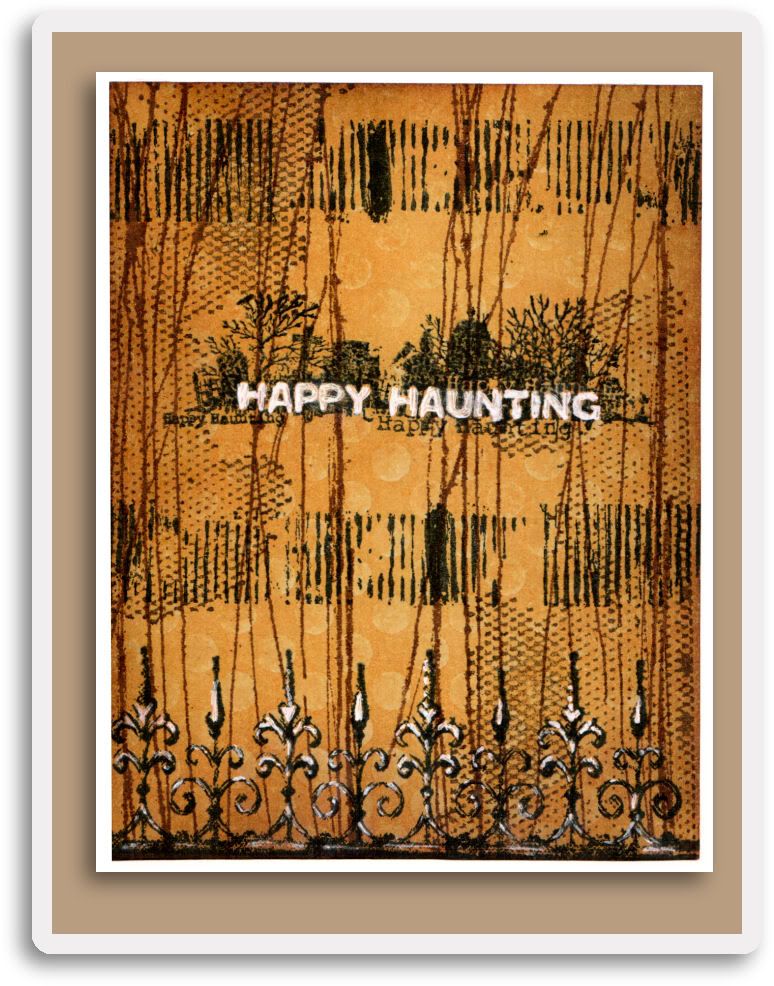
The main part of the lid was created using a Fiskars Texture Plate. Using a paper stump and rounded silicone tool, I taped the metal onto the plate and then rubbed it into the design. I combined brown and green acrylic paint and a lot of water to make my own distressing spray, which I poured into a mini-mister. After each spritz, the metal was dried with a heat tool, until I was happy with the result.

The tile on the top was made several months back, on a metal class at LB Crafts. The copper was embossed on a Ten Seconds Studio mould and distressed with a patina spray. A square of patterned paper was cut from a Crafty Individuals sheet and placed in a silver Ranger Memory Frame, which had been rubbed with copper wax.

That’s about it, I hope you like it! :o)

Wednesday 28 October 2009

Recycled Tria Box

A friend who's been buying Letraset Tria markers recently gave me 2 of the boxes they come in (actually she was going to discard them, so I saved them from a landfill future!). I figured that by removing the base I'd be able to make 2 desktop tool caddys (perfect for larger items like cropodile, texture hammer, rulers etc) plus 1 gift box. Here is the first tool caddy, the gift box will follow tomorrow (if I get it finished!)

The 4 sides are shown above (they are all perfectly rectangular - they look a little wonky because of my amateurish camera work, lol)

Starting at the top left -
Copper top embossed using Ten Seconds Studio border mould. Silver metal embossed in the Cuttlebug. White acrylic paint applied over whole box then partially buffed when dry. Molten UTEE poured over copper crown motif on non-stick craft sheet, then stamped with cookie cutter while still hot. Copper tile embossed with TSS mould then aged with glimmer mists and UTEE element fixed to centre.

The other 3 tiles were embossed using TSS moulds and tarnished with glimmer mists.

Sunday 25 October 2009

Mort Journal


I picked up several of these little hard-backed kraft-covered journals last week, thinking that they'd make good stocking fillers, once suitably decorated.

I stamped the word "journal" onto the front cover, then made this sleeve to go around the book. The stamp is called "Mort had a pin curl", by Stampotique. Isn't that a great name? He was coloured in using promarkers an then masked off and the background was coloured with distress inks. Since he's sporting a great set of fangs, I'm going to enter him into my friend Hels' Sunday Stamper Challenge this week, which is "Monster Mash".

Saturday 24 October 2009

All's Well That Ends Well!


Ok, so I think these are the last of the halloween cards!  The raven border is a Lost Coast Designs stamp that I got recently, and love how it's possible to bend it into curves on the acrylic block before stamping!  I'm also loving the huge gingham backgrounder from Cornish Heritage Farms!

On a separate note, this is my first post using the new blogger post editor - I'm not impressed! Next time I might give Windows Live Editor a try :)

Friday 23 October 2009

Death and Taxes


They say two things in life in unavoidable – death and taxes. I’d add one more – Halloween cards!! I’m sure you must be getting bored with seeing these, I know I’m bored with posting them, but one more post after this one and they'll all be done! :o)

Thursday 22 October 2009

Finally Organised!

I love promarkers, don't you? I hated them at first (I hear your shocked gasps, lol) but now that I have finally figured out how to actually use them, I love them! The biggest problem has always been finding just the right colour from a disorganised heap of pens - a problem no more!

I went on to the popular auction site (you know the one) and got these clear pencil cases for 99p each. I measured the pens first (15cm) and found that there were a lot of 16cm and 17cm high pencil cases available. Factoring in the thickness of the pens I opted for the 17 cm size (23cm wide), and 15 promarkers fit snugly inside. Of course all I have to do now is to figure out what order makes for the best arrangement!

Oh, I know that in the pic it looks like these cases are clear on the front and brown on the back, but they're actually clear on both sides, it's my brown floor showing through from behind! :o)

Wednesday 21 October 2009

2 More Halloween Cards


I dunno what you think, but in some respects I think the 2nd card here just doesn't work. I think that's why it's one of my favorites of the ones I've made, the fact that there's something not quite right about it almost makes it even more Halloween-y! :o)

Tuesday 20 October 2009

Live Life!!

2 more pages for my little book today - these aren't actually going to be sequential in the book, but I've put them together here as they use the same colour pallete, so I thought they'd look good on the page.

On a separate note, yesterday was apparently "Evaluate Your Life" day (thanks for the info Hels!), so it's also timely that these appear today (even if it's a day late!).

Inks are all Ranger Distress pads, stamps on first one are PaperArtsy, Stampers Anonymous and the "Live Life" is from a clear set I have but I forget who they're by. Stamps on the 2nd page are S.A. for the cityscape and Lost Coast Designs for the pencils.

Saturday 17 October 2009

Ghoulies and Ghosties and Long-legged Beasties


Two more Halloween cards to thrill and chill you! Or not :o) Whatever :o) Lots of rich layered stamping in the first card, so much so that the photo doesn't really do it justice! Click on an image to see a larger view.

Friday 16 October 2009

Create!

Another Halloween rest day today, so here are 2 more pages of the book I'm working on. Once again the blank pages were cut on the Cricut with Sure Cuts a Lot.

The grid pattern on the 2nd page was created by spritzing a checkerboard stamp with water and stamping it onto the previously distress inked card, I love how it turned out! The heart and banner stamp is by Tim Holtz at Stampers Anonymous.

The flower on the first page was cut out freehand with scissors, my hands are clearly steadier than I thought! :) The ticking stamp in the background is by Just for Fun, and the two girls are by Paper Bag Studios.

Thursday 15 October 2009

Tip-toe, tip-toe, BOO!!


Two more Halloween cards today - I include the first because someone yesterday someone said they liked the little guy in the middle, and to answer a question from yesterday, it IS a Stampotique stamp.

All stamps are again from Inkadinkado sets, apart from the afore mentioned Stampotique stamp. Oh, the tree on the first card was a lovely wood-mounted stamp that was a gift from my friend Hels. The wood block is long gone (I have ALL my stamps on EZ Mount foam), so hopefully if Hels reads this she can remind me of who made the stamp, in her comment! :)

Wednesday 14 October 2009

Snake Book Pages 1 & 2

I thought, dear reader, that we'd take a break from Halloween today, so here are two pages from a snake book I'm making, which will be bound with the Bind-it-All. They're not actually the first two pages of the book, but I've grouped them together here because the techniques used on both pages are the same. I only wanted 4 holes down each side of the page, so I didn't punch them on the BIA, I cut them on the Cricut instead, using the Sure Cuts a Lot software.

I used the faux batik technique on both pages. The large damask-type designs on the right-hand side of each page were stamped first onto the blank page using a Versamark ink pad and then embossed with clear embossing powder. Colour was then applied to each page using an ink blending tool, with the embossed areas acting as a resist so that colour didn't apply to those parts.

I then placed brown (kraft) paper over each page and ironed with a hot iron which melted the embossing powder until it soaked into the kraft paper and was removed from the page. Other parts of the page were then stamped and finally the main figures were stamped separately, coloured with Promarkers and cut out, then adhered to the page. I ran a pale grey marker around the edge of each figure to make it pop a little more.

2 down, 10 more pages to go! Click on the image for a larger view.

Tuesday 13 October 2009

Halloween Card #3

A single panel this time, with stamps from Inkadinkado, Stampers Anonymous and Oxford Impressions. I wanted to make this look deep and rich, so there's a lot of layered stamping on it. Click on the pic for a larger view, another to follow tomorrow!

Monday 12 October 2009

Happy Haunting!

Another day, another Halloween card. Technique-wise similar to yesterdays, so not much to say about this one other than I hope you like it, and there'll be a new one tomorrow! :o)

ETA: All stamps on this card are from Inkadinkado clear stamp sets, apart from the spider's web at the bottom of the rightmost panel, which is Stampers Anonymous (if I remember rightly!)

Saturday 10 October 2009

Hello (Again) Strangers and Halloween Card!

I call you strangers not because you are strange, but because I haven't "seen" you all in such a while. Not your fault but mine - I believe "life just got in the way" is the expression! I'm happy to be back, and hopefully normal service will now be resumed! :o)

I recently made 13 Halloween cards for a swap I was taking part in. I mostly used some of the clear Halloween stamp sets from Inkadinkado (thanks to Kim from Cutter's Creek for sending them so promptly!). Needless to say, after all that effort I'm pretty much over Halloween now, and it's not even here yet, LOL. I made the cards while I was away on vacation, so consequently there are no particularly complicated techniques involved, as I didn't have my usual range of tools and equipment at my disposal - just stamps, ink, scissors and glue! The stamps I have aren't particularly large images and it wasn't easy using them for the whole of the front of a card, so I adopted a comic-book style panelled approach on many of them, which I adapted from card to card. Here's the first, there'll be another one here every day for the next two weeks or so.

The panels were cut from pale grey cardstock and I applied ink from a Spiced Marmalade Distress Ink pad with an ink applicator tool. The large polka dot stamp (from Cornish Heritage Farms) was spritzed with water and then stamped on each panel. When they had dried I distressed the edges with Vintage Photo distress ink, applied as before.

The main images were stamped with Black Versafine ink and the pumpkin and ghost were stamped separately on white cardstock and cut out and adhered to the panels. The inside of the card was stamped with the "Happy Haunting" stamp from one of the Inkadinkado sets.

Click on the image for a larger view. See you tomorrow, same time, same place! :)
Related Posts with Thumbnails